Vegan Chocolate Hazelnut Spread
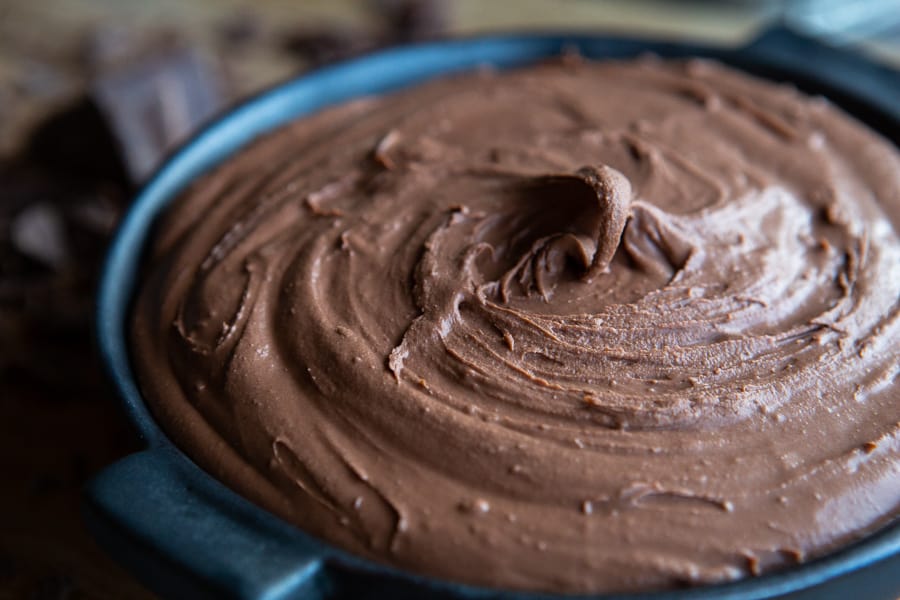
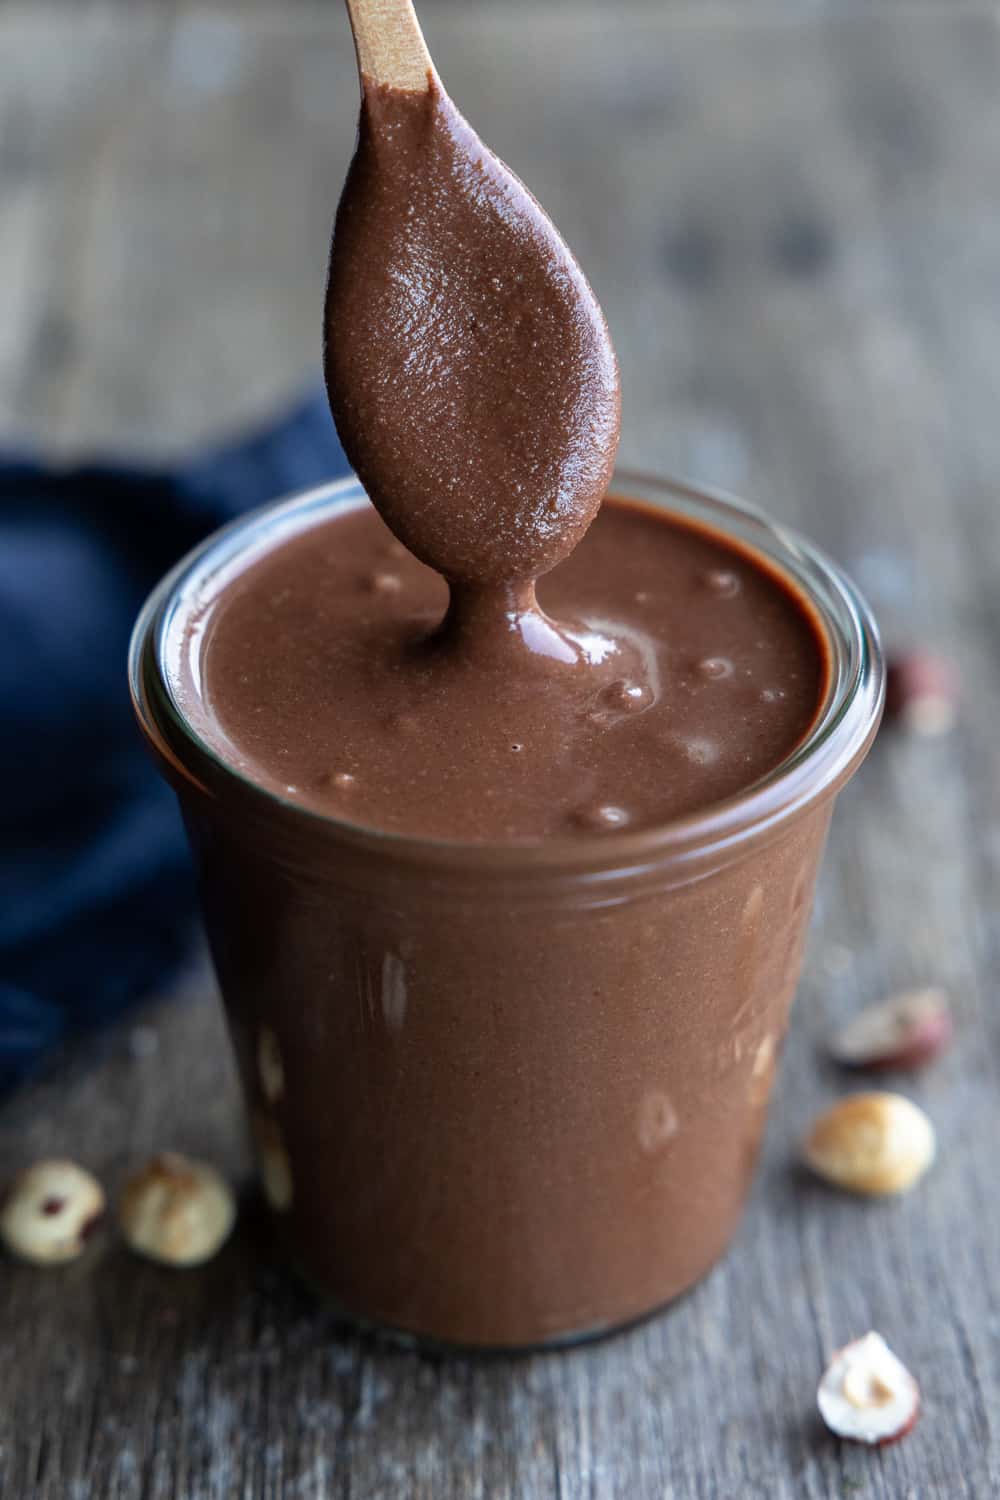
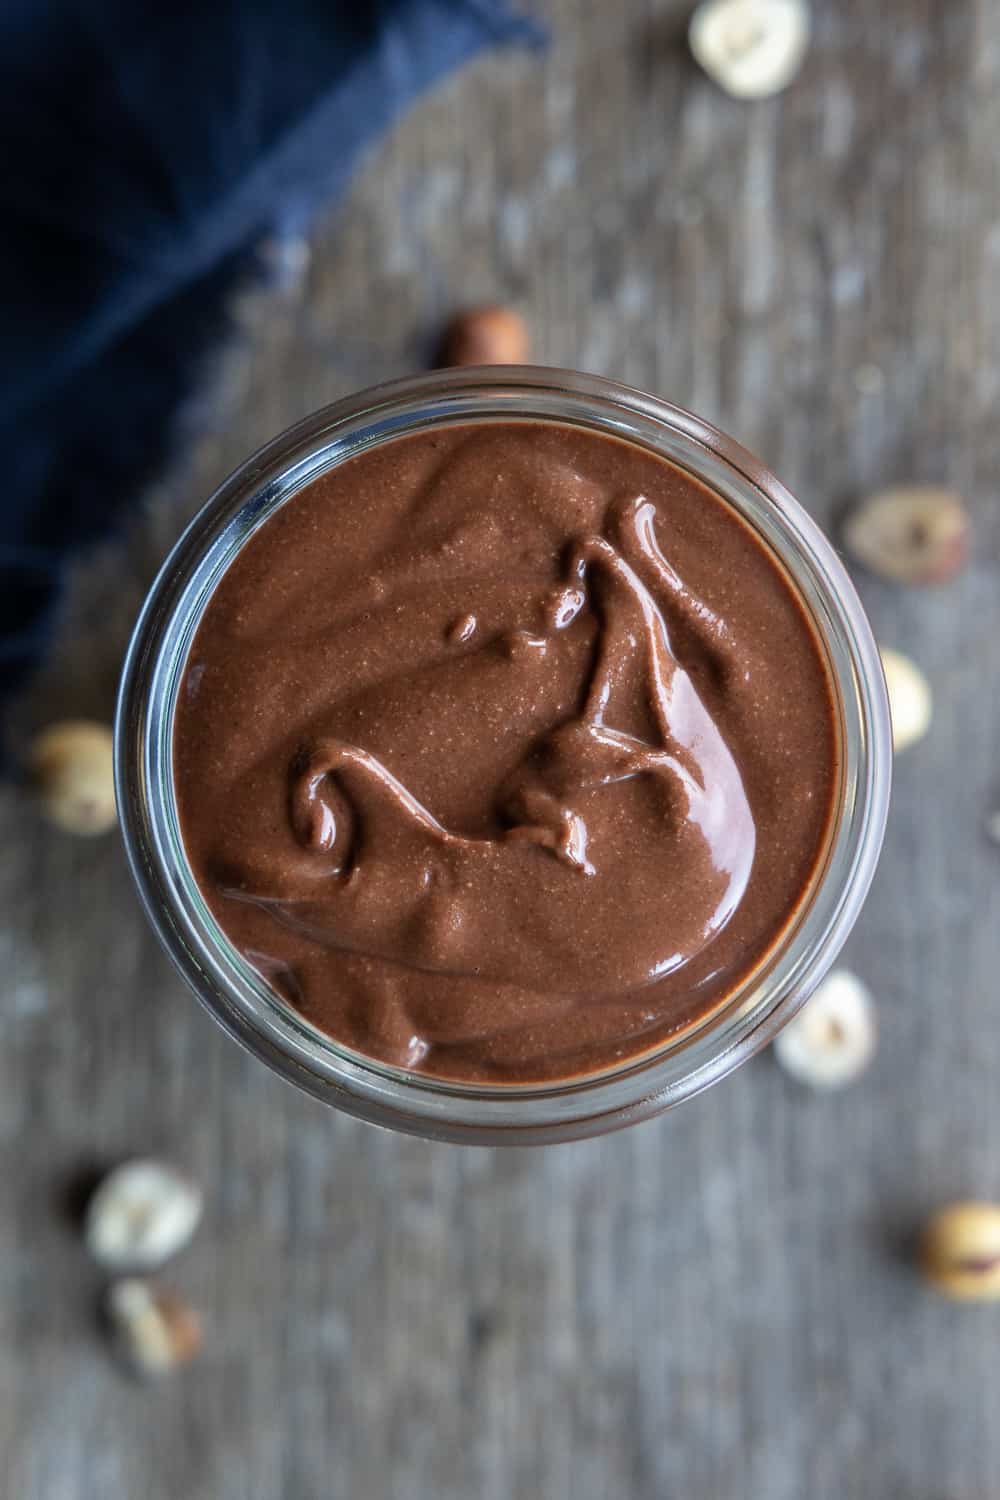
This vegan chocolate hazelnut spread is rich, creamy, indulgent, and silky smooth. The perfect sweet jar of goodness to keep in your kitchen to top or spread on your favourite breakfast or dessert.
By using your food processor or high-powered blender, you can create this decadent chocolate spread in no time!
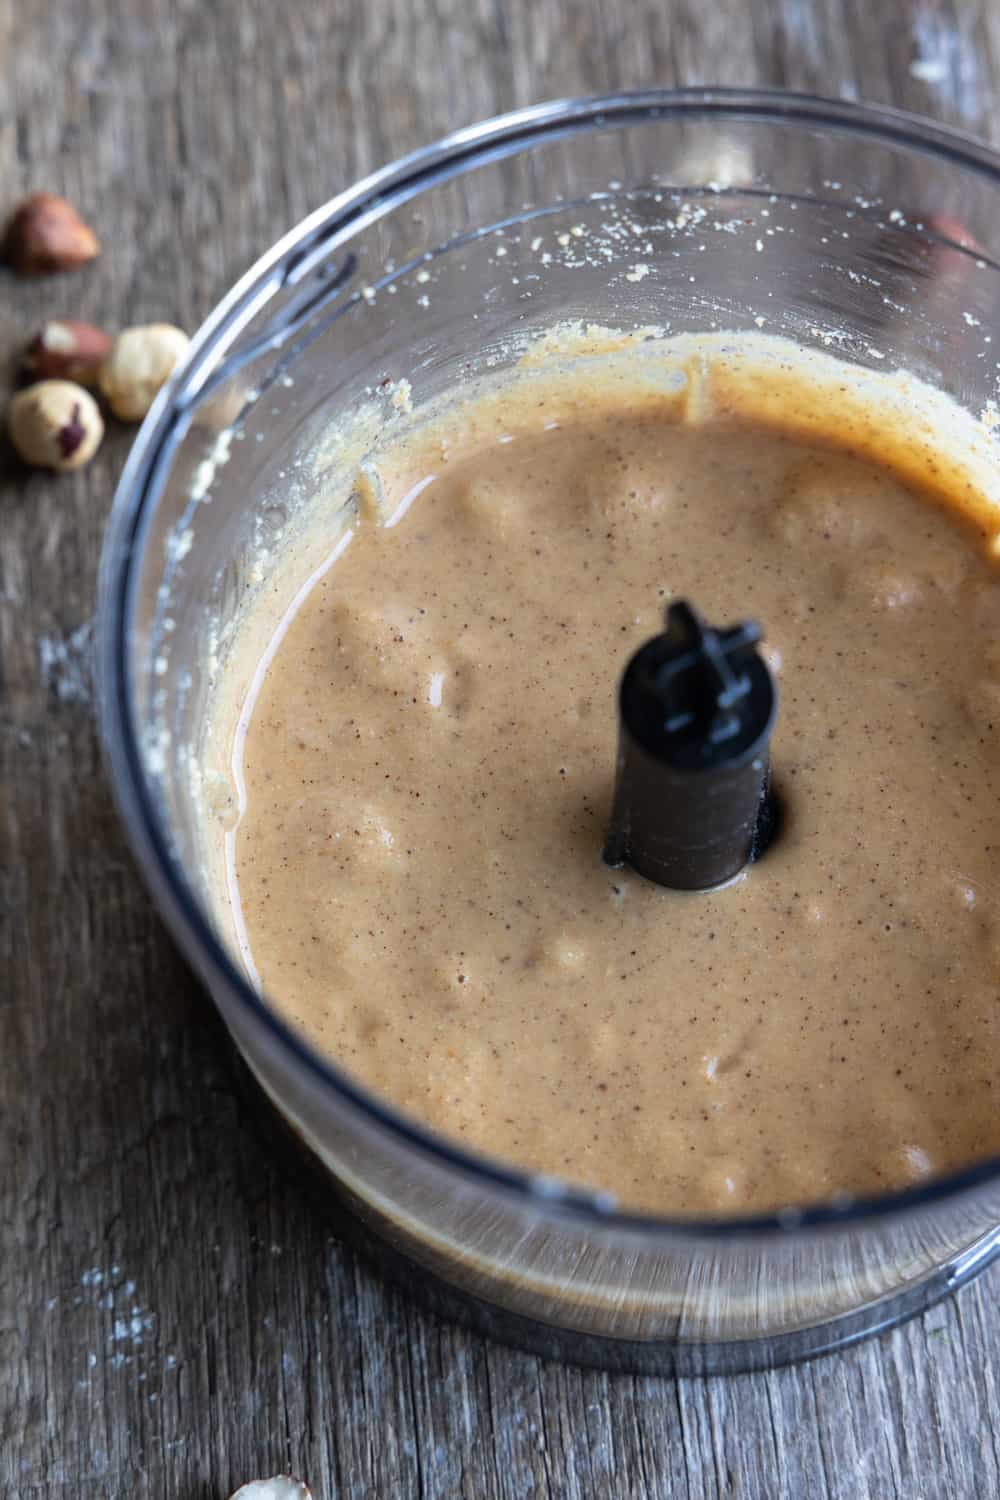
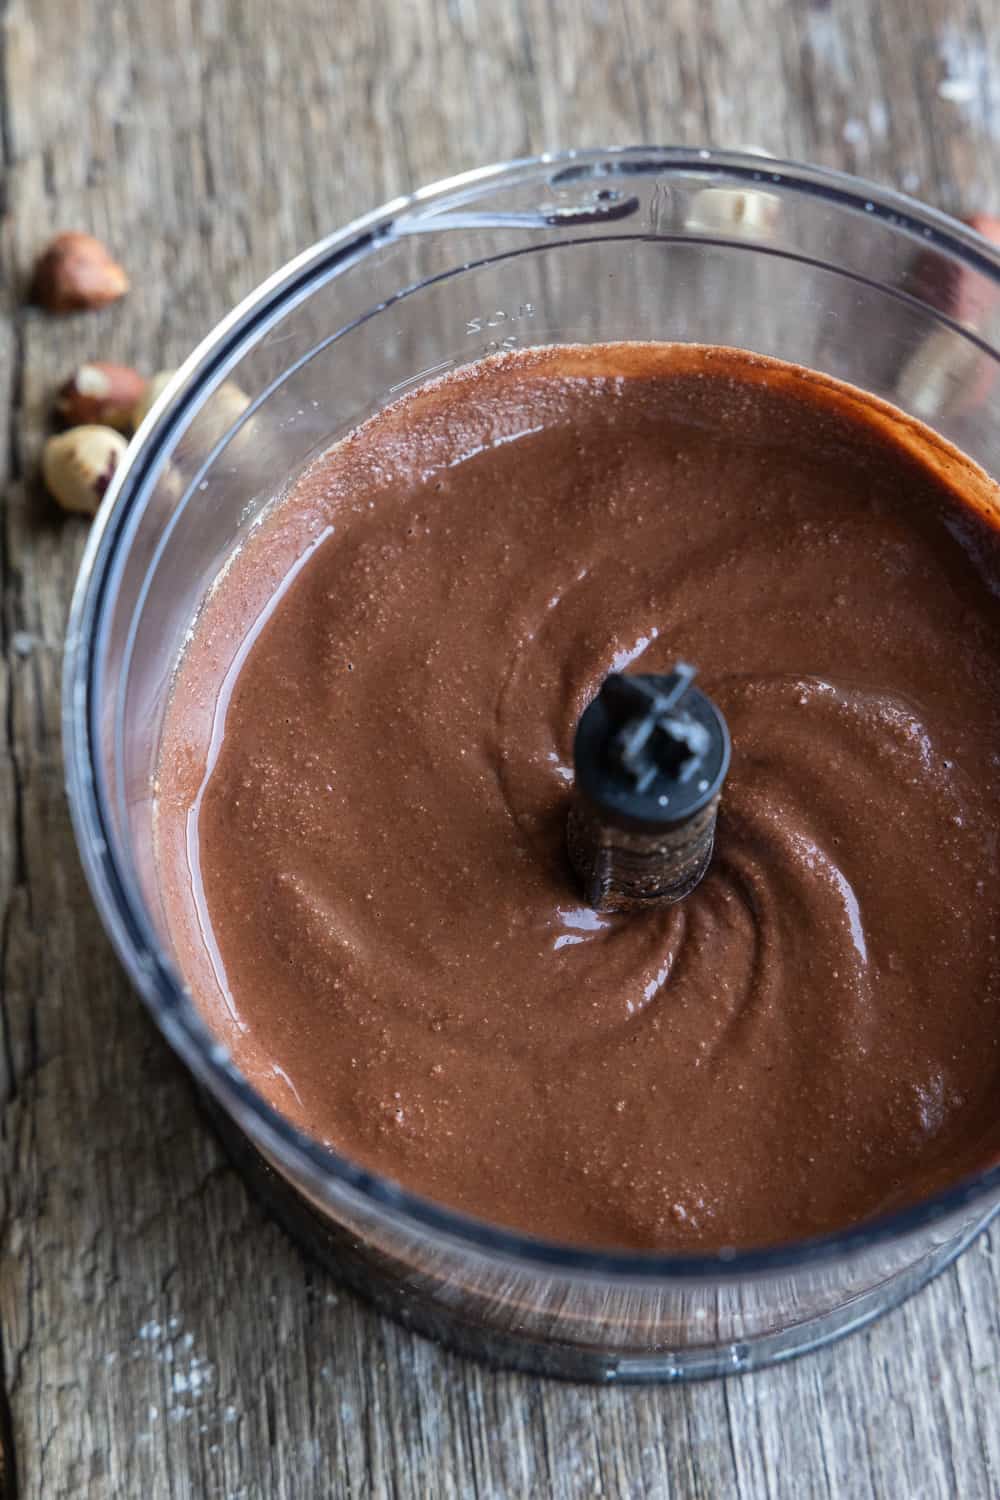
You start the process by making your very own hazelnut spread (pictured above), which can take anywhere from 2-3 minutes to 15 minutes, depending on how powerful your food processor or blender is.
Mine took only 2 minutes to turn from freshly roasted and skinned hazelnuts to thick and creamy spread in my small food processor.
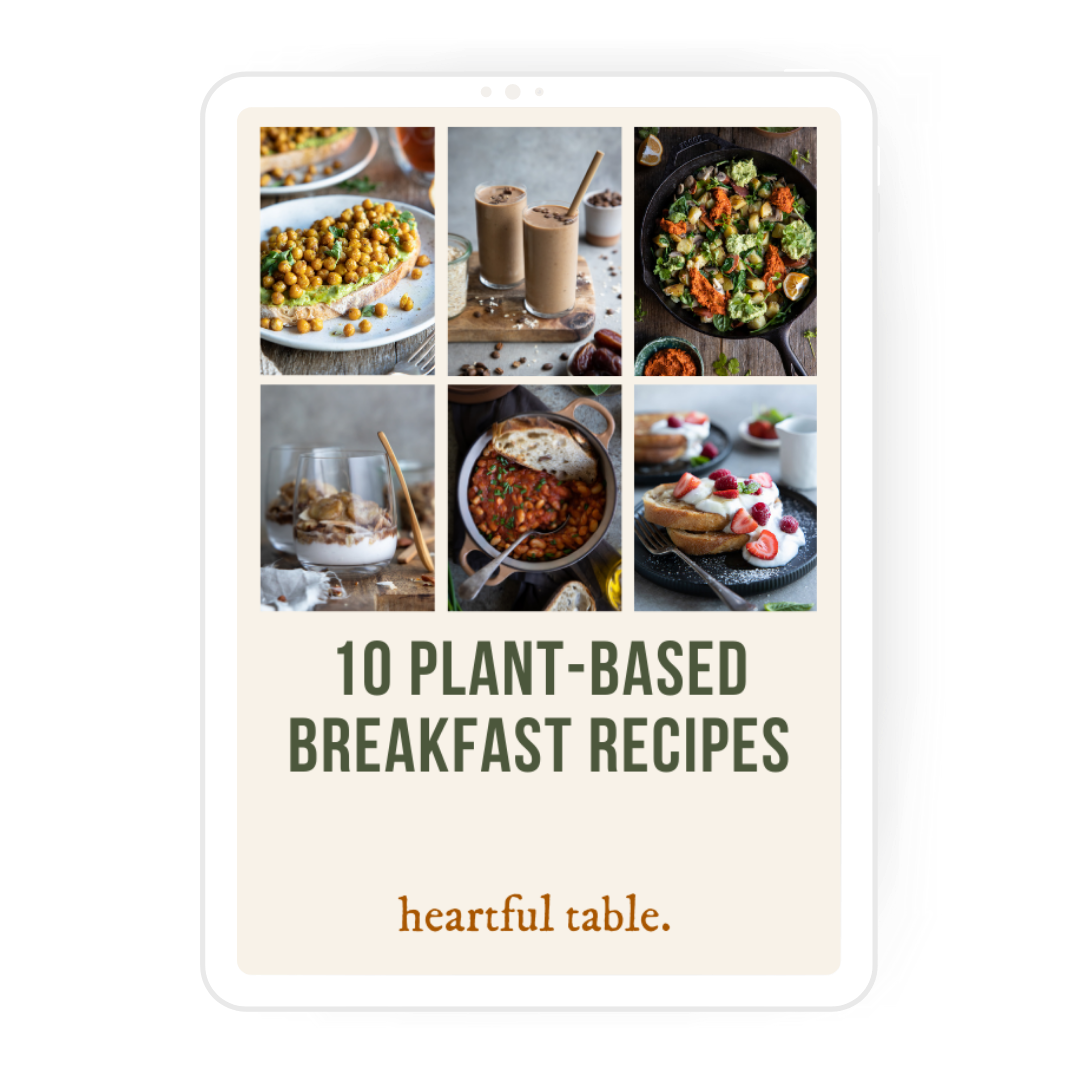
Free Recipe eBook
Join our newsletter and get our eBook featuring exclusive breakfast recipes to kickstart your mornings.
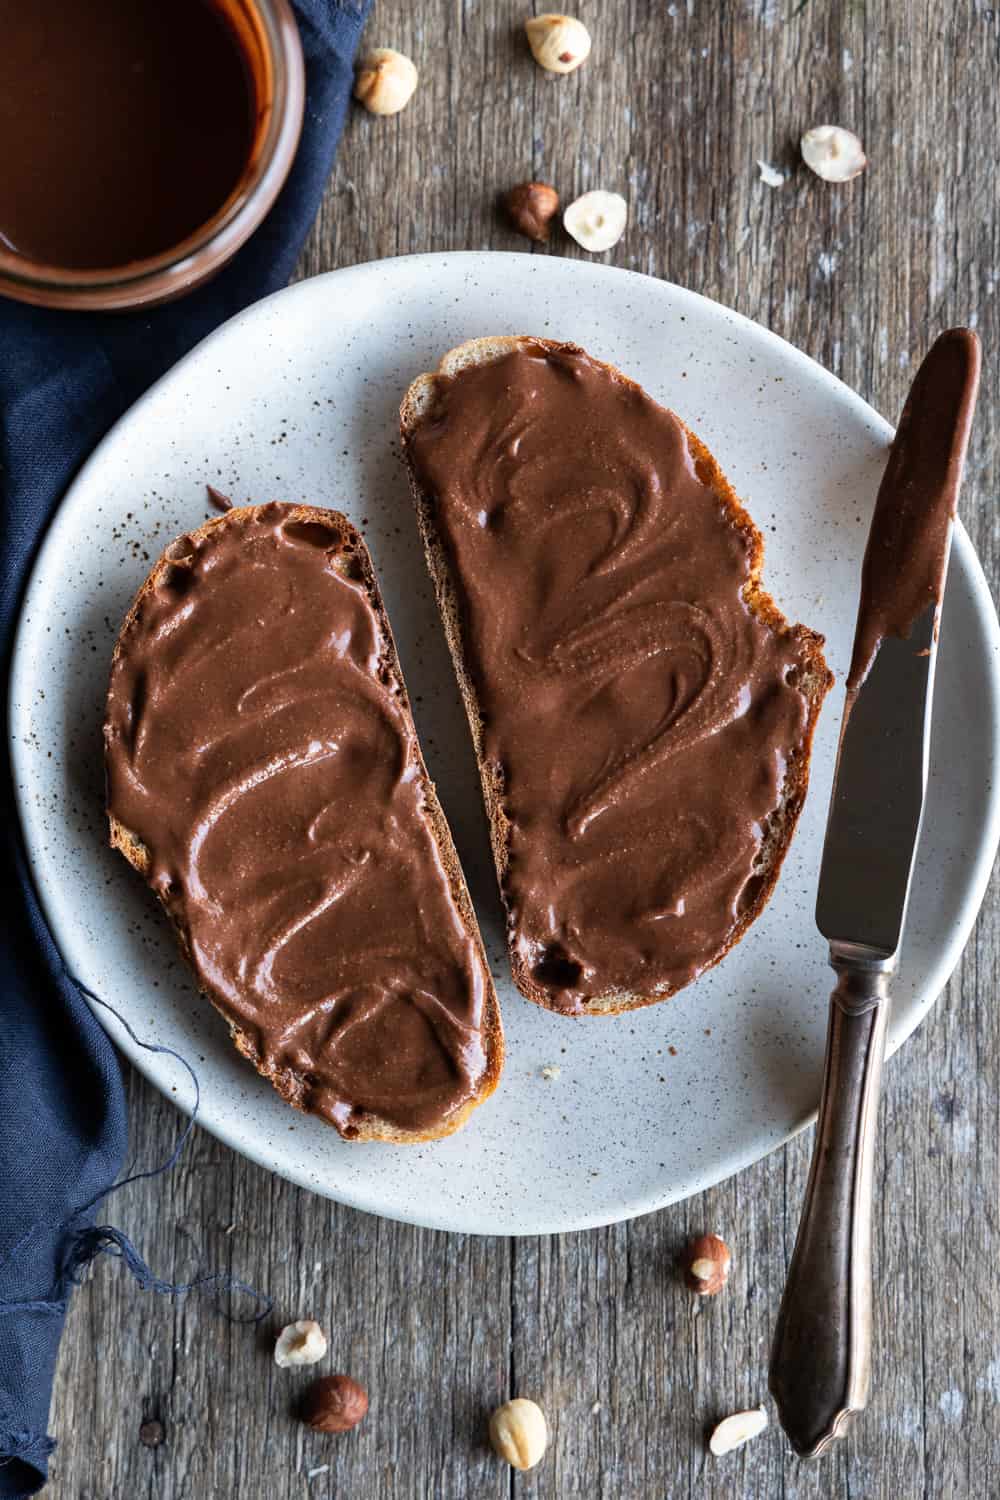
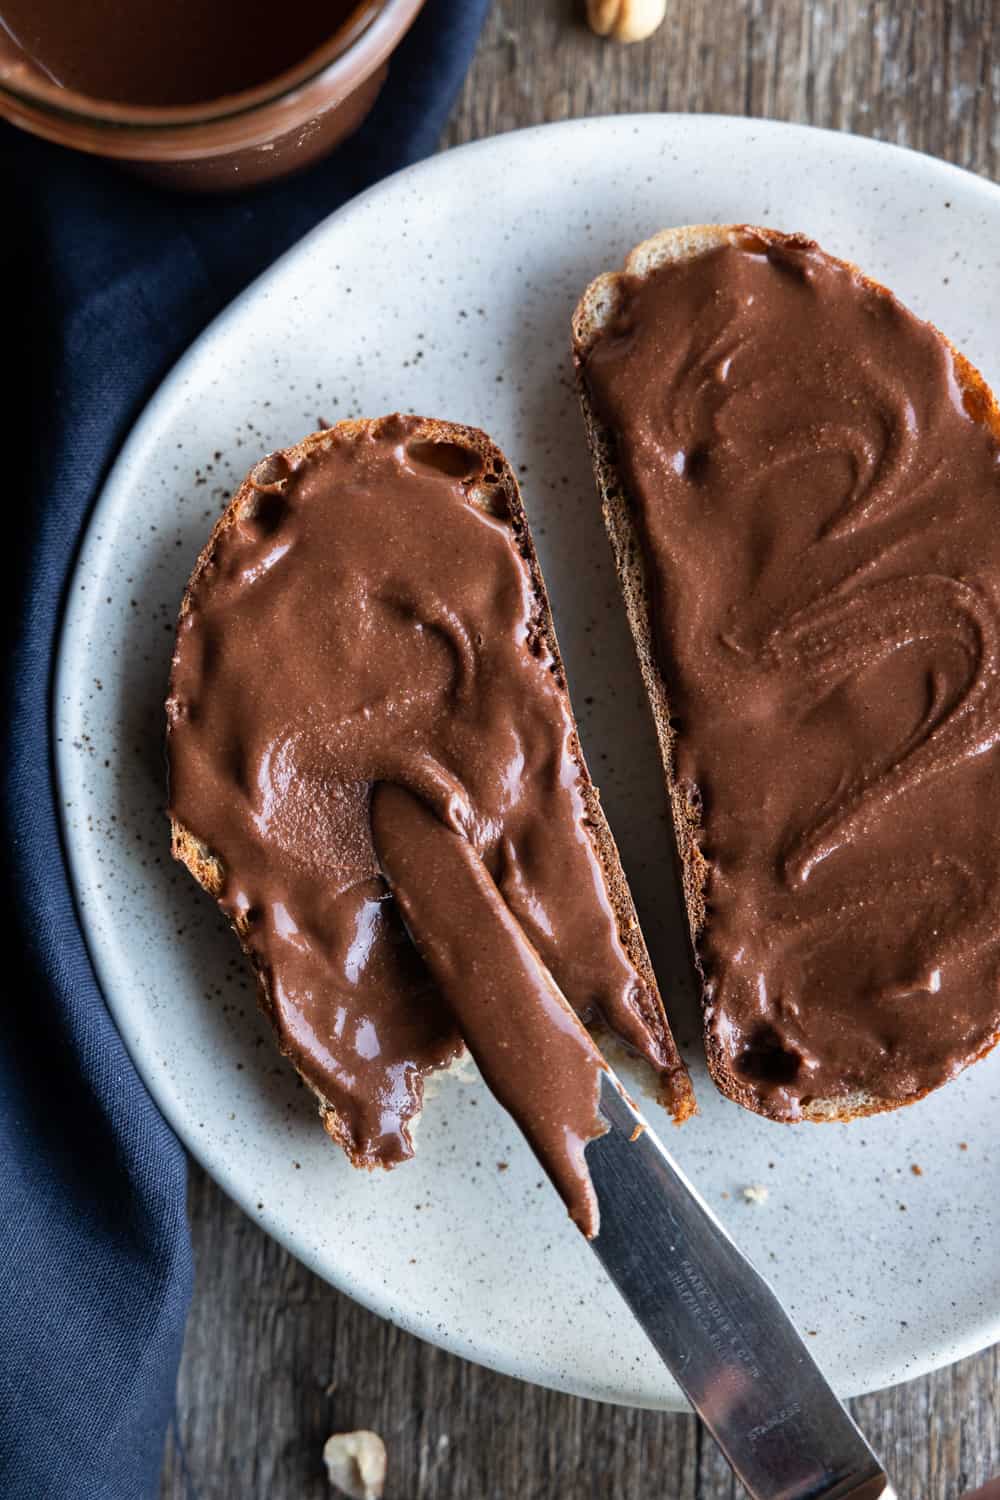
Next, with the addition of sugar, cacao, vanilla, oil, and a pinch of salt, you have yourself a vegan chocolate hazelnut spread. SO simple!
Some ideas of how to use this dairy free chocolate spread
The options are honestly endless, but here are a few to get your creative juices flowing:
- Spread inside a crepe or drizzled on top
- Top over pancakes
- Spread on toast
- In between a cookie sandwich
- Drizzled on top of ice cream
- Added to your favourite oatmeal
- Popped in your blender to add nutty chocolate goodness to your smoothie
- Topping for fresh fruit
- Used as a dipping sauce for fruit
- Used instead of icing for some cakes
- Drizzled over nut bars
- Spread inside a medjool date (with pit removed)
And the list could go on and on…
What you’ll need to make this recipe
The ingredients are simple. What you’ll need to get the best results is:
- Raw hazelnuts – don’t use pre-roasted hazelnuts as you want the oils that are released during the roasting process to be as fresh as possible.
- Confectioners (aka icing) sugar – don’t use granulated sugars as they willl leave a gritty consistency in the spread. If you wish, you can make your own beforehand by grinding up cane sugar or coconut sugar in your blender until a powder is made.
- Cacao powder – you can also use cocoa powder but I like to keep my ingredients as nutrient dense as possible. This will give the spread that delicious chocolate flavour.
- Oil – any neutral oil will do. This will help to make it smoother and a slightly better pourable consistency – as the oils from the hazelnuts aren’t enough.
- Vanilla extract – for a slight hint of vanilla to balance the flavours, but this is totally optional.
- Salt – to balance the sweetness and bring out the flavours more.
That’s it! Six ingredients with the option of making it only five. You’ll never buy store-bought spreads again. Not only is it cheaper, but a healthier alternative to most of the supermarket spreads.
Why I didn’t call this recipe a vegan Nutella
Even though I wouldn’t personally classify this as a vegan Nutella, I think it’s pretty close. If you call it a Nutella, I would expect it to taste pretty much identical.
Considering that I didn’t want to use the amount of sugar that is required to achieve that outcome, I wanted to be more realistic with the name of this spread.
Some may comfortably call it a healthier, vegan version of Nutella, others will agree with me and say it’s delicious but not quite the same as this famous chocolate hazelnut spread.
The funny thing is Nutella only uses 13% hazelnuts!
I feel that this spread is far more superior and balanced in the flavours of chocolate and hazelnuts. So you be the judge.
Tips to help you make the best vegan hazelnut spread
Even though this is a straightforward and easy recipe. There are a few things to keep in mind when making it to get the best outcome possible.
- Don’t swap out the powdered sugar for liquid sweeteners as they are water based, and oil and water can split. It will also seize up and thicken as it sits.
- On that note, as I mentioned earlier, don’t use granulated sugar as your spread will be gritty and not smooth.
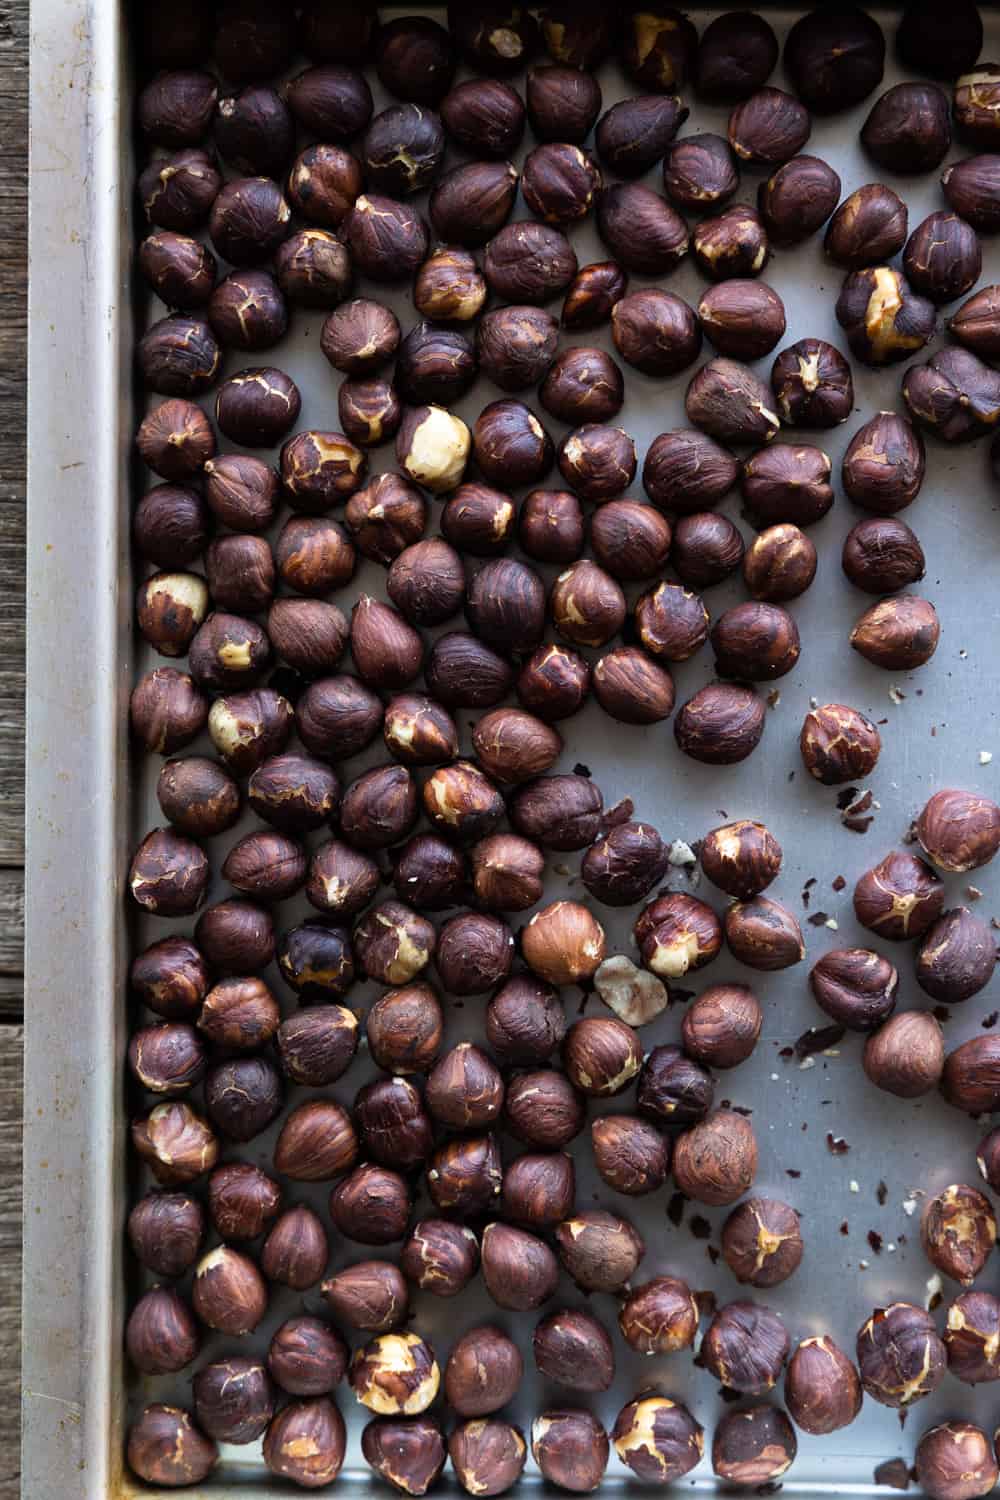
- The spread will be thicker if the nuts aren’t roasted for long enough or over roasted. Be careful though, they can turn very quickly. So keep an eye on them. They need to release their natural oils and just slightly start to brown and have the skin seperate from the nut. See image below for reference.
- You may need to have a little patience when making the hazelnut butter. It can take anywhere from 2-15 minutes to make depending on your food processor. I use a small food processor for this and it takes no more than 2 minutes to turn from whole roasted hazelnuts to butter. It’s pretty amazing!
- You can also use a high-powered blender instead, however I have not tried it this way.
- If you find the spread a little on the runny side to your liking, place it in the fridge to firm up for a couple of hours.
- The spread will keep for up to two weeks (for optimal flavour and freshness) in an airtight jar at room teperature or in the fridge. I find that it gets better with age.
This spread is:
- palm oil-free
- dairy-free
- gluten-free
- soy-free
- refined sugar-free (if you use powdered coconut sugar)
- vegan
- healthier than nutella
- using accessible ingredients
Other delicious recipes you’ll love:
- Vegan Chocolate Ganache
- Coconut Whipped Cream
- Easy Vegan Crepes
- Vegan Chocolate Pancakes
- Classic Vegan Chocolate Cake
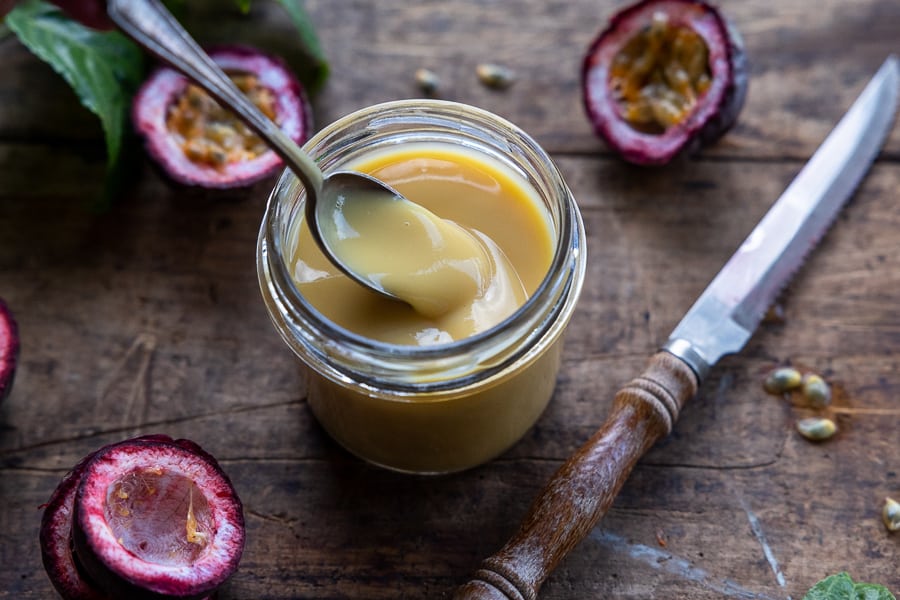
- Easy Vegan Passionfruit Curd
If you try this recipe, let me know! We’d love for you to leave a comment and rating below. If you want to go that extra mile, tag us on Instagram or share your photo of the recipe on Pinterest.
Print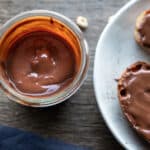
Vegan Chocolate Hazelnut Spread
- Prep Time: 25 minutes
- Total Time: 25 minutes
- Yield: 1⅓ cup / 360g spread
Description
This vegan chocolate hazelnut spread is super easy to make. It’s perfect for drizzling, spreading, and just eating straight out of the jar.
Ingredients
- 2 cups / 265g raw hazelnuts
- ¾ cup / 90g powdered sugar*
- ¼ cup / 25g cacao powder (or cocoa)
- 2 tablespoons neutral oil (we like MCT oil)
- ½ teaspoon vanilla extract (optional)
- Pinch of salt
Instructions
- Preheat your oven to 180 degrees Celcius (355 degrees Fahrenheit) and add your hazelnuts in a single file on a large baking tray.
- Bake for 10-12 minutes until the hazelnut skins start to crack and darken. Be careful as they can turn very quickly! So keep an eye on them. (see photo for reference of roasted hazelnuts)
- Remove the baking tray from the oven and let them cool for about 5 minutes.
- Take a tea towel and pour the hazelnuts into the centre of it. Create a little parcel with the tea towel and rub the hazelnuts against your benchtop in a back and forth motion (rolling) to remove the skins. Repeat this process until you have about 80-90% of the hazelnuts skinless. Throw the skins into your bin or compost.
- Add the hazelnuts to your food processor or high-powered blender, and blend until you’ve reached a nut butter. This can take anywhere from 2-15 minutes depending on your appliance. You want a smooth consistency, so keep processing until you reach it. Remember to pause occasionally and scrape down the sides. (see photo for reference of hazelnut butter)
- Once you’ve created the nut butter, add in the remaining ingredients and blend until everything is well incorporated. It will most likely thicken at the beginning but don’t worry, it will loosen and become smooth and creamy after a couple of minutes.
- Use to spread on toast, crepes, or just enjoy with a spoon! We have plenty of suggestions for you further up in this post.
- It will keep in a jar for up to 2-3 weeks at room temperature and potentially longer in the fridge.
Notes
Powdered sugar: The reason we use powdered sugar is because granulated sugars will leave a gritty consistency in the spread. If you wish, you can make your own beforehand by grinding up vegan cane sugar or coconut sugar in your blender until a powder is made. If you’re in the US, make sure it’s organic for it to be vegan-friendly.
- Diet: Vegan