Baked Vegan Blueberry Cheesecake
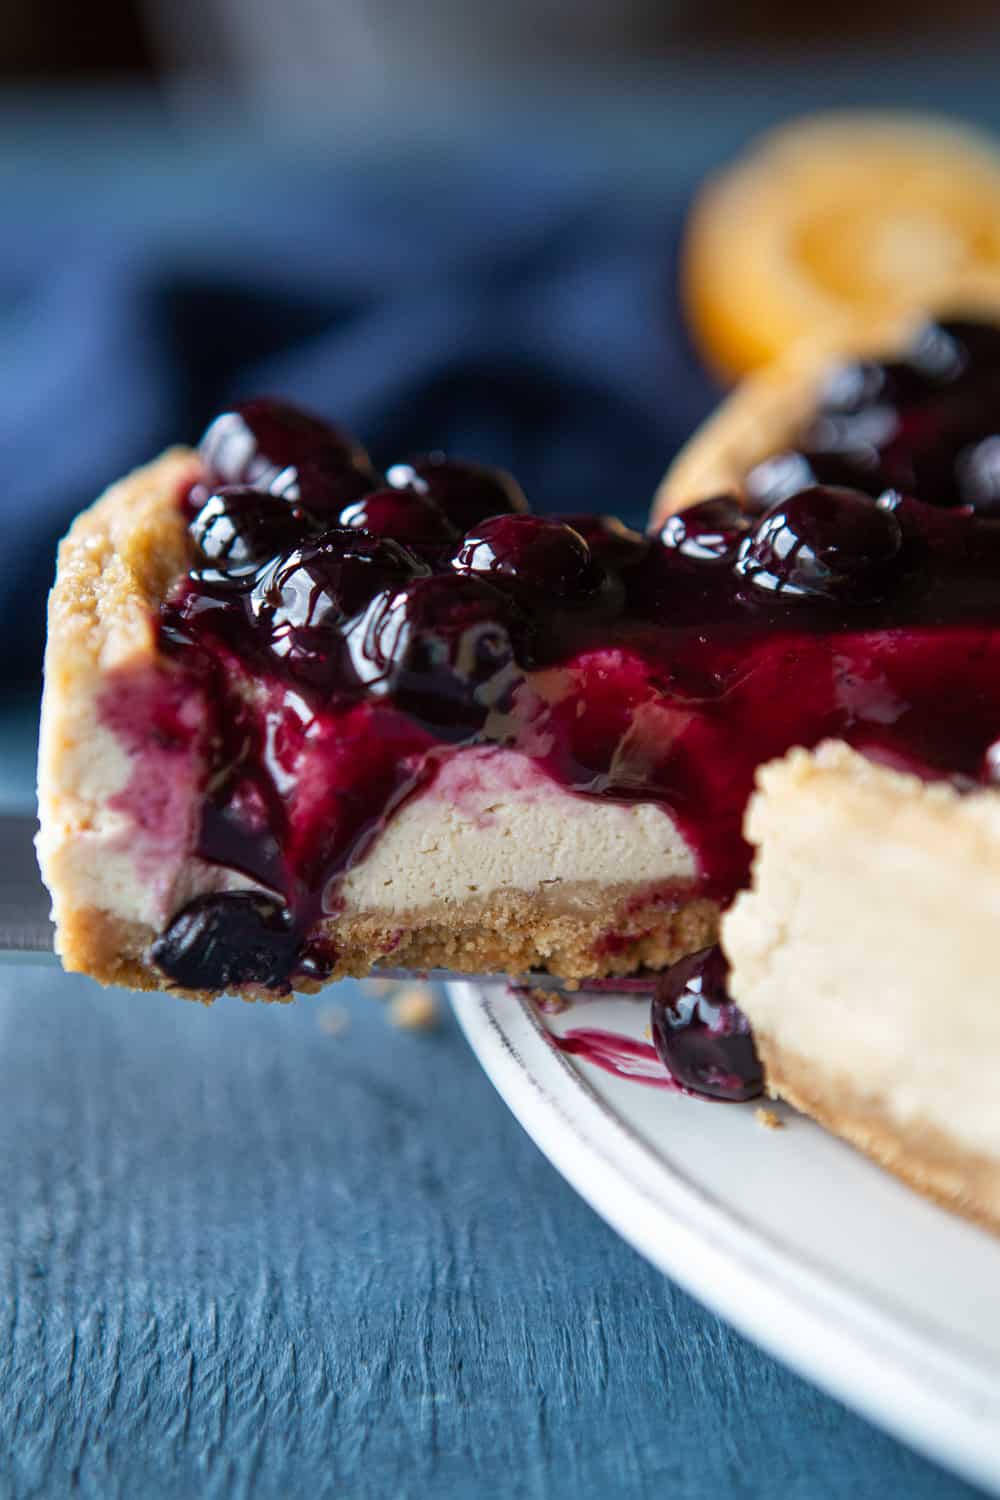
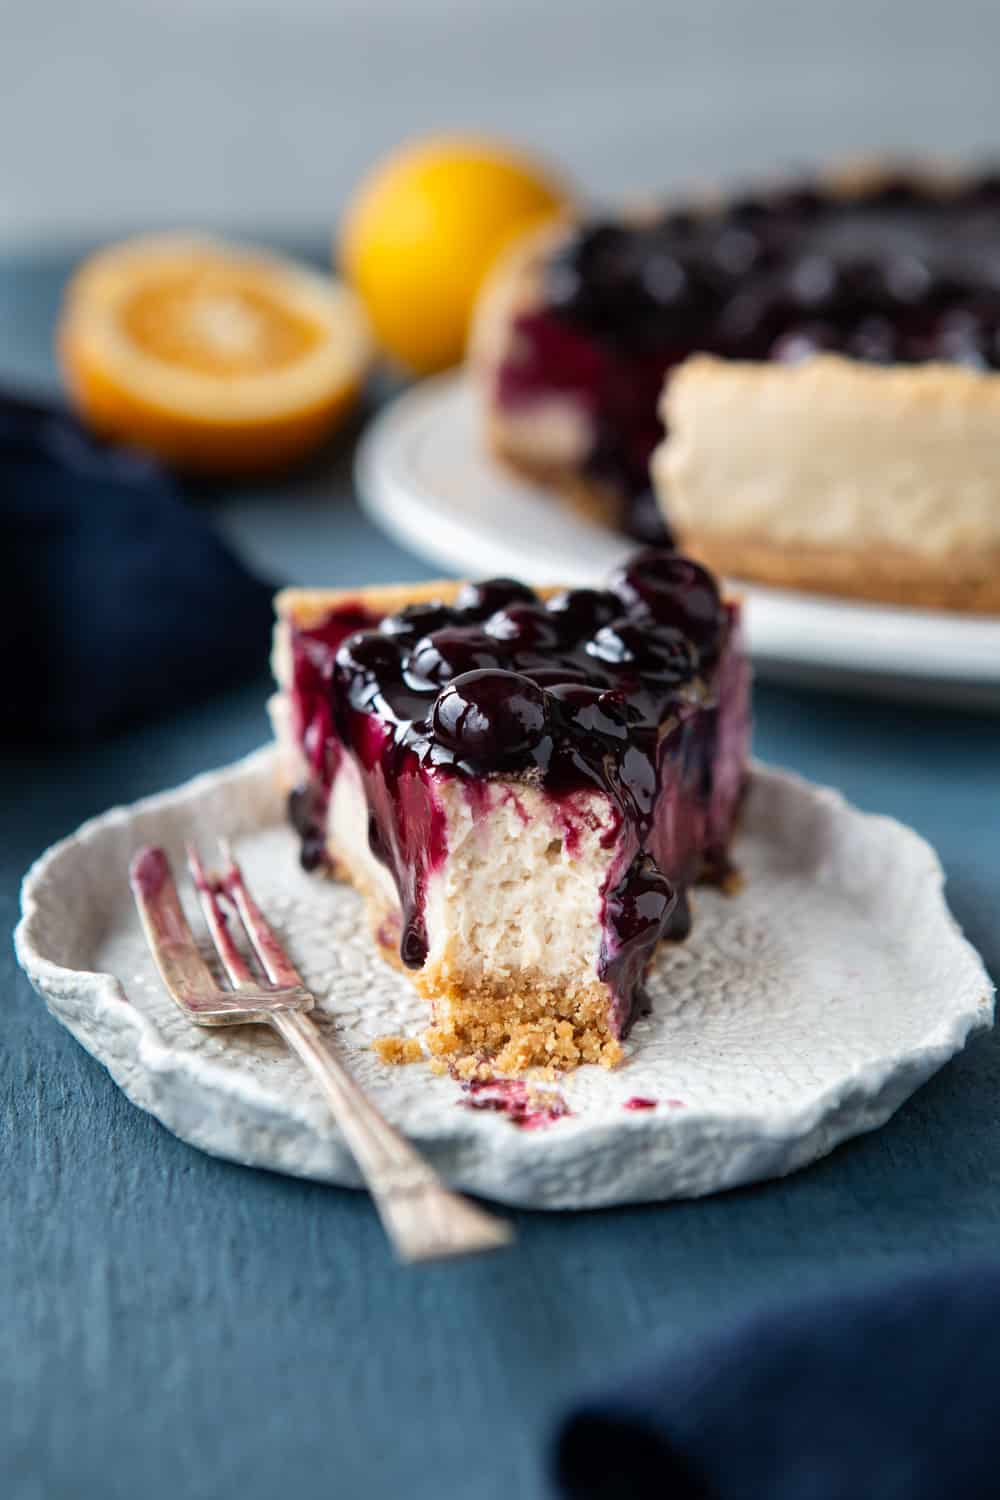
If you’re after a BAKED vegan blueberry cheesecake that tastes just like a dairy cheesecake, then you’ll fall in love with this recipe. I don’t want to sound like I’m tooting my own horn, but this cake will blow your socks off.
If you love cheesecake, you’ll love this! It’s the best vegan cheesecake I’ve had. Hands down.
I know I’m making some big statements, but I’ve had feedback from my taste testers of this wonderful creation, and they’re shocked at how good this vegan cheesecake is.
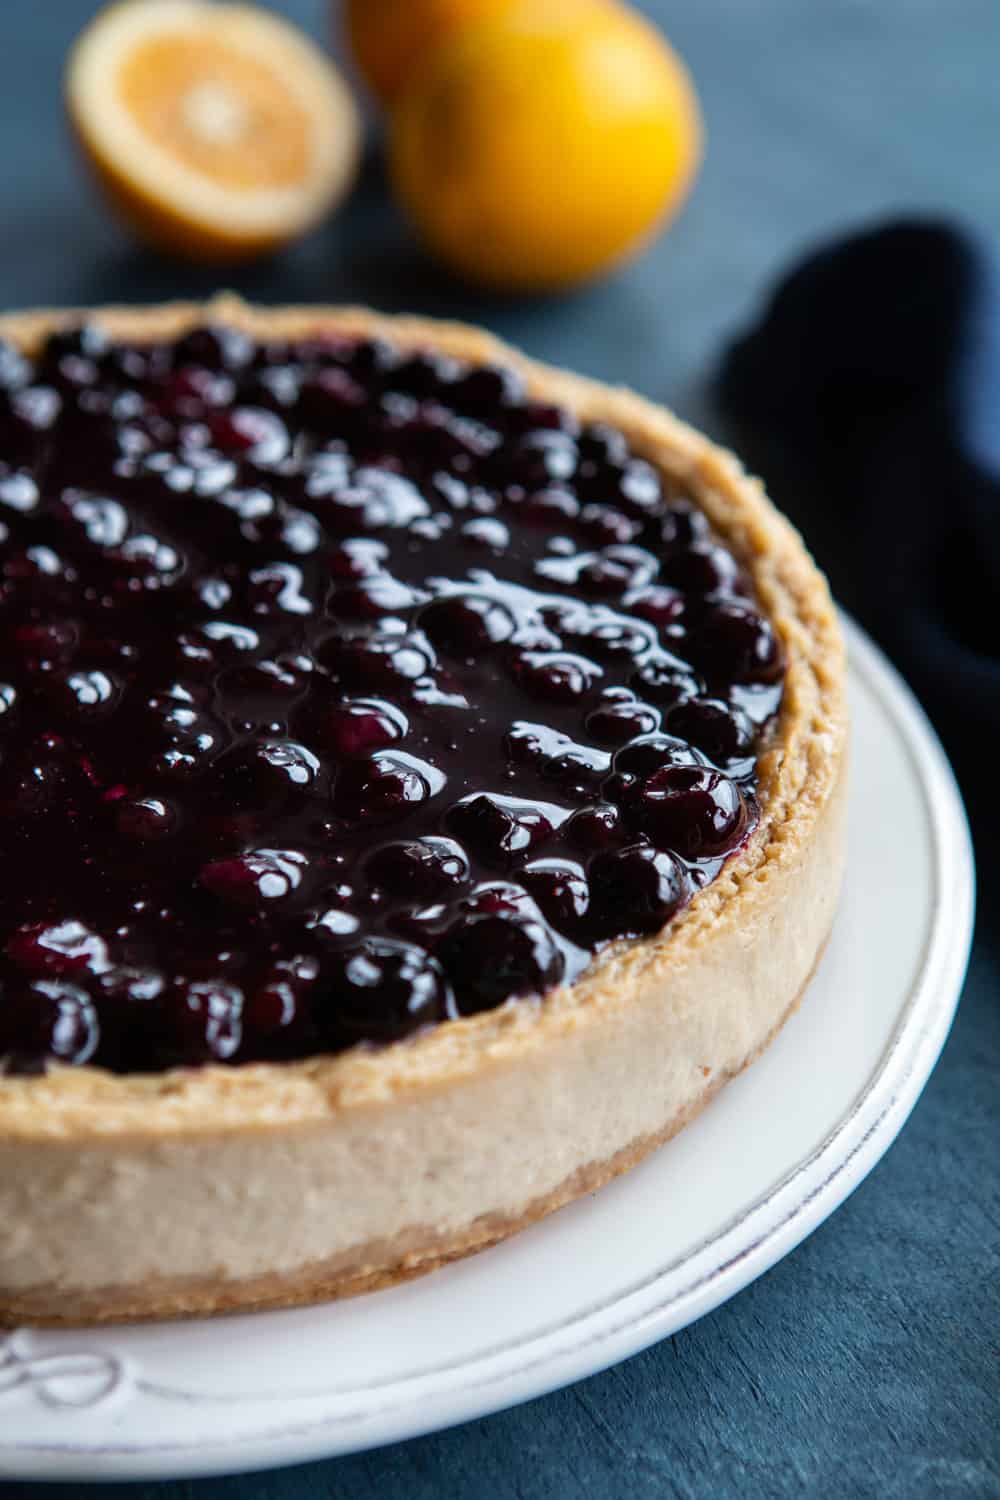
Don’t take my word for it though, try it yourself and let me know in the comments.
This recipe has been in my head for over a year now, and I thought it would be the perfect way to start wrapping up cake month (if you didn’t know, this September, I decided to do a month of just cake recipes).
I know it’s already October, but I couldn’t help myself but have two more treats up my sleeve to share with you.
Other cakes that I shared with you in the last month:
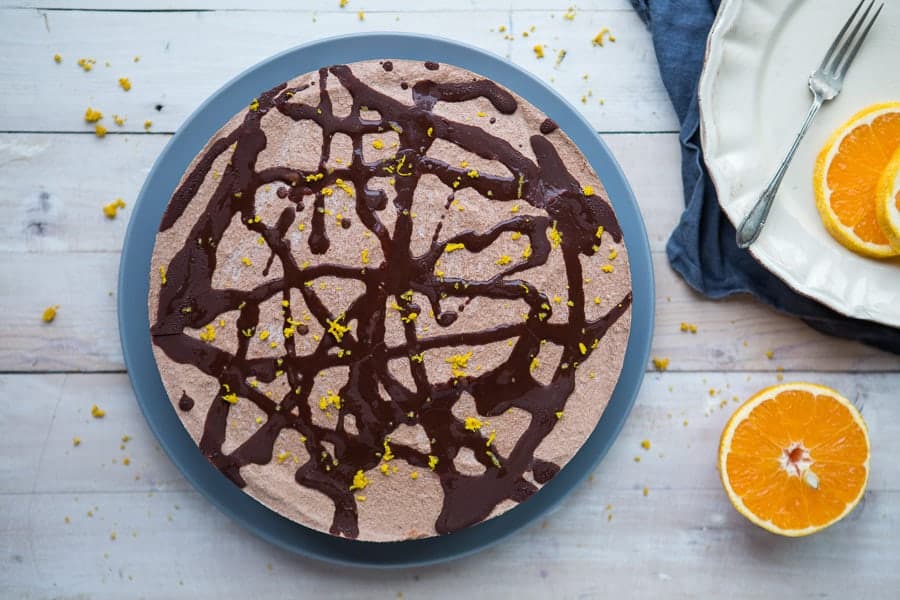
- No-Bake Vegan Chocolate Mousse Cake
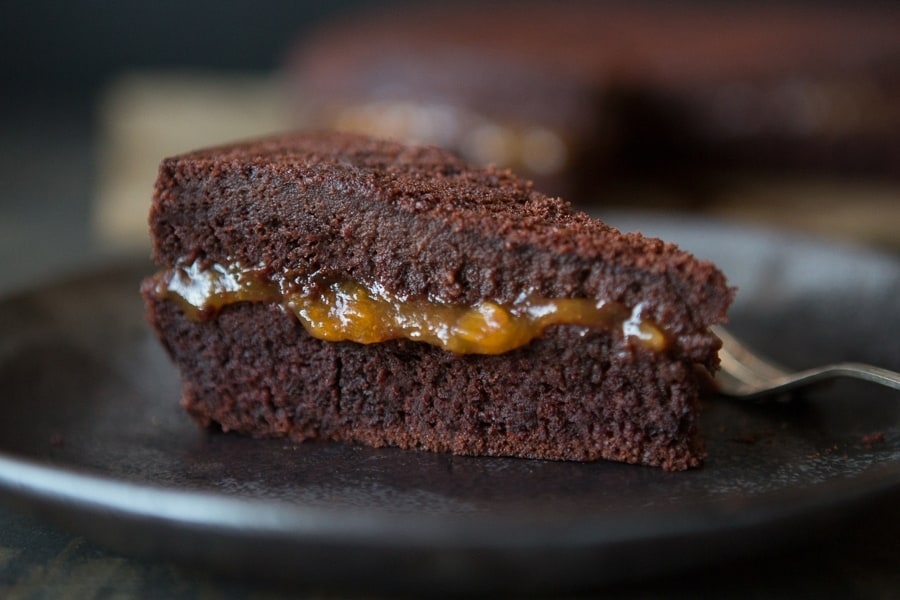
- Vegan Banana Cake with a Chocolate Ganache
- Easy Vegan Carrot Cake
- Vegan Vanilla Cake with Coconut Cream and Berries
This post may contain affiliate links, for which we earn a small commission at no additional cost to you. Read our full disclosure.
Kitchen tools needed to make this vegan blueberry cheesecake
The tools that you’ll need to craft this dairy-free cheesecake are the following:
- 9-inch springform cake tin
- Unbleached parchment paper
- Rolling pin and ziplock bag, or food processor (for crumbling the biscuits)
- High-speed blender
- Silicone spatula
- Small saucepan
- Spoon
- Measuring cups and spoons
- Scales
- Small bowl (to soak the cashews)
The blueberry compote
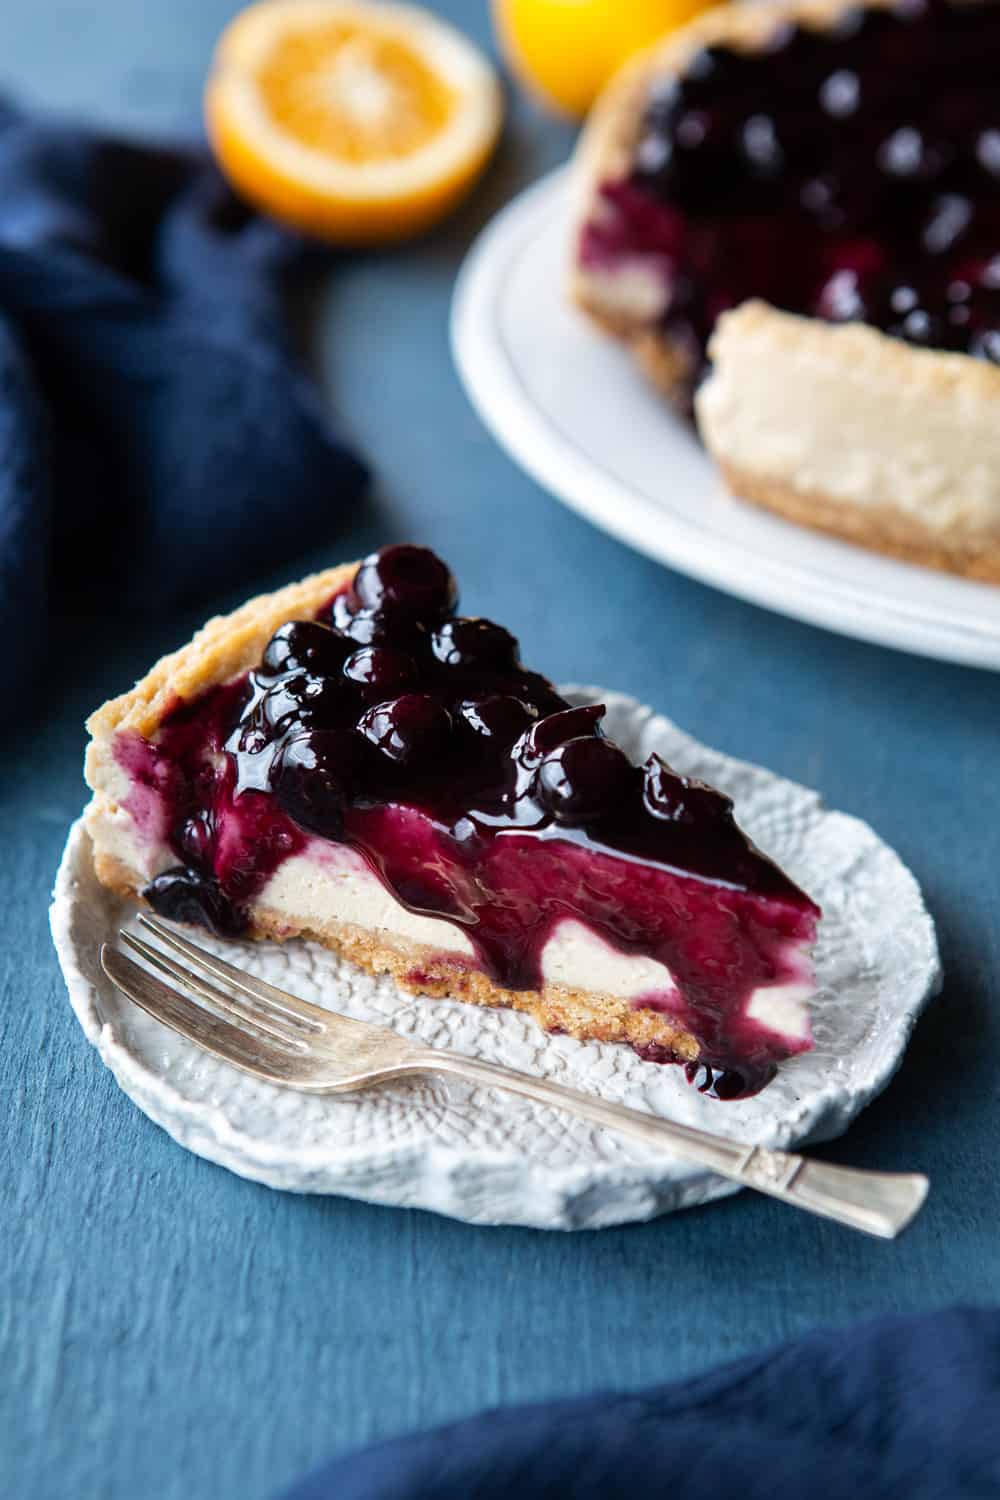
The blueberry compote that ties the flavours of this cake together is really easy to make. All you’ll need is:
- Frozen blueberries
- Coconut sugar
- Tapioca/arrowroot/corn starch
- Lemon juice
That’s it! With a splash of water to help the starch thicken the compote, making it will be as simple as putting all the ingredients into a small saucepan and stirring it over low heat until it thickens to the desired amount.
You can make it thicker or thinner; it’s entirely up to you. I like mine on the thicker side.
Tips for making this baked vegan cheesecake
This cake is pretty straightforward to create, but here are a few tips to make it that little bit easier to get the best results possible.
- If you don’t like cashews or are allergic to them, you can use macadamia nuts in their place.
- It’s best to use a high-speed blender for this recipe because you want the smoothest, creamiest cheesecake filling possible.
- This cake is best made the day before you’d like to serve it so that it has time to cool in the oven and set nicely in the fridge. It’s important not to skip this step.
- Don’t try and substitute the vegan cream cheese. Trust me, I have tried it, and the result is nowhere near the creamy, smooth and “cheesy” flavour that a proper cheesecake should be.
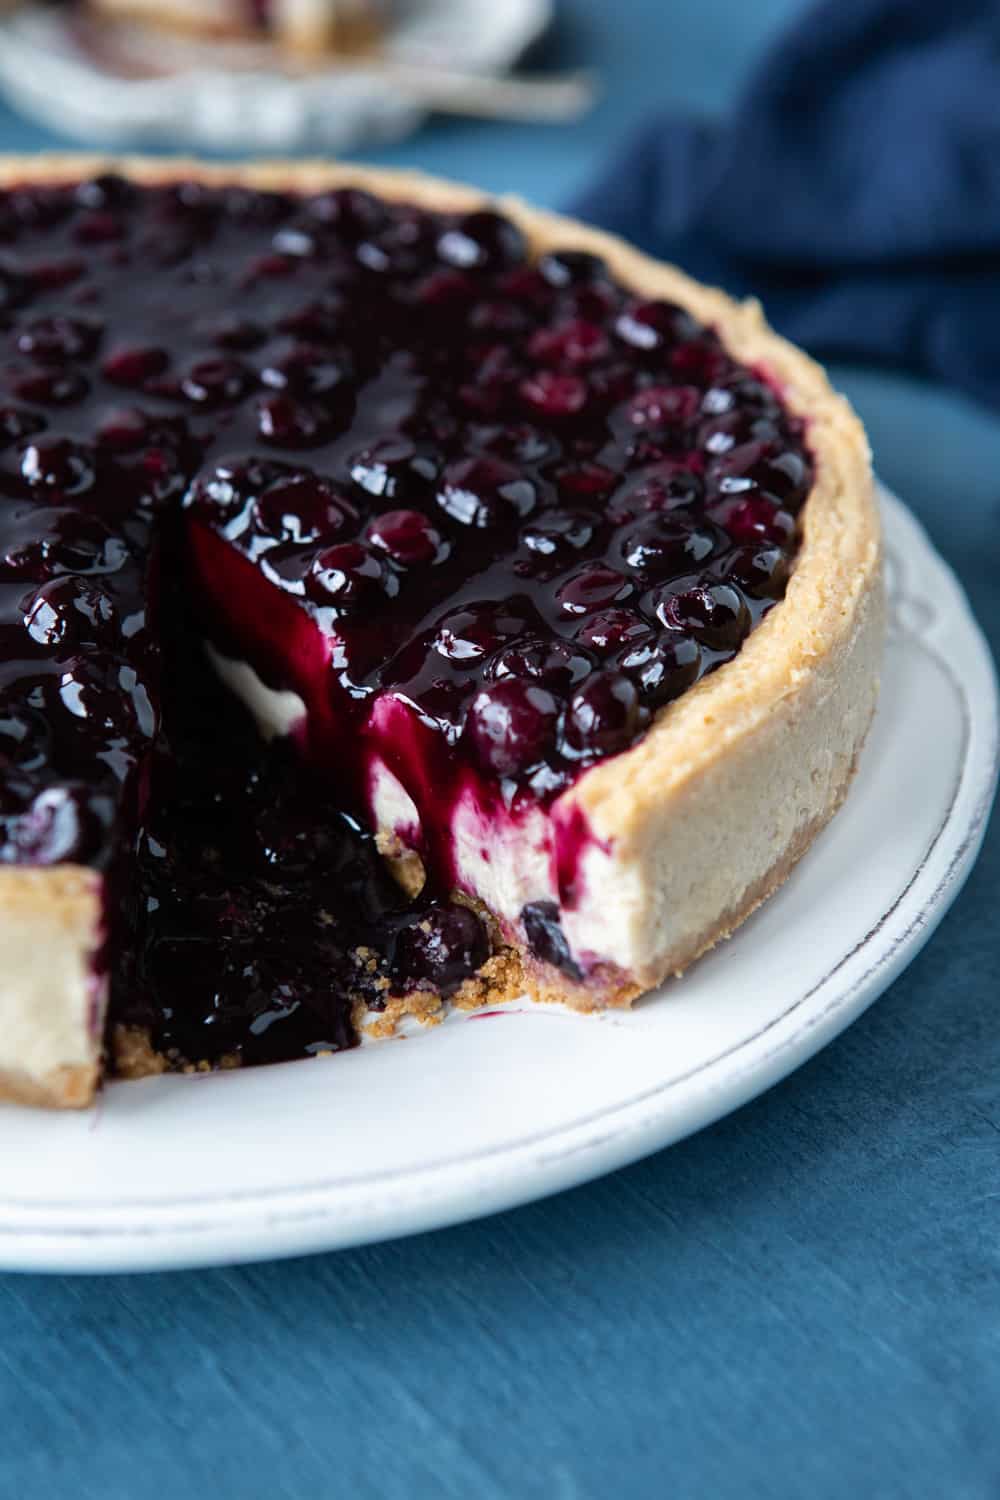
- The reason you leave the cake in the oven to cool is that it prevents the top from cracking.
- This cake will keep in the fridge for up to 5 days.
A word about the ingredients used in this vegan cheesecake
If you’ve been following and cooking my recipes for a while, you’ll know that I always try and use healthier alternatives. I was deliberating what to do with this recipe for MONTHS.
I had many failed attempts at making it a “healthier” vegan baked cheesecake. Still, I realised that if I wanted to share a recipe that represented the closest thing to regular cheesecake, I had to use ingredients that you usually wouldn’t find in my kitchen, and I’m okay with that.
I wanted to give you a cheesecake that I felt was worthy of sharing, and quite honestly, a cheesecake that would be worthwhile your time making.
So, all this to say, that this is probably the “naughtiest” dessert that I currently have available on Heartful Table and that I’m proud of it! I achieved what I set out to do. To give you the best possible vegan blueberry cheesecake recipe that wasn’t raw or trying to be something it clearly wasn’t.
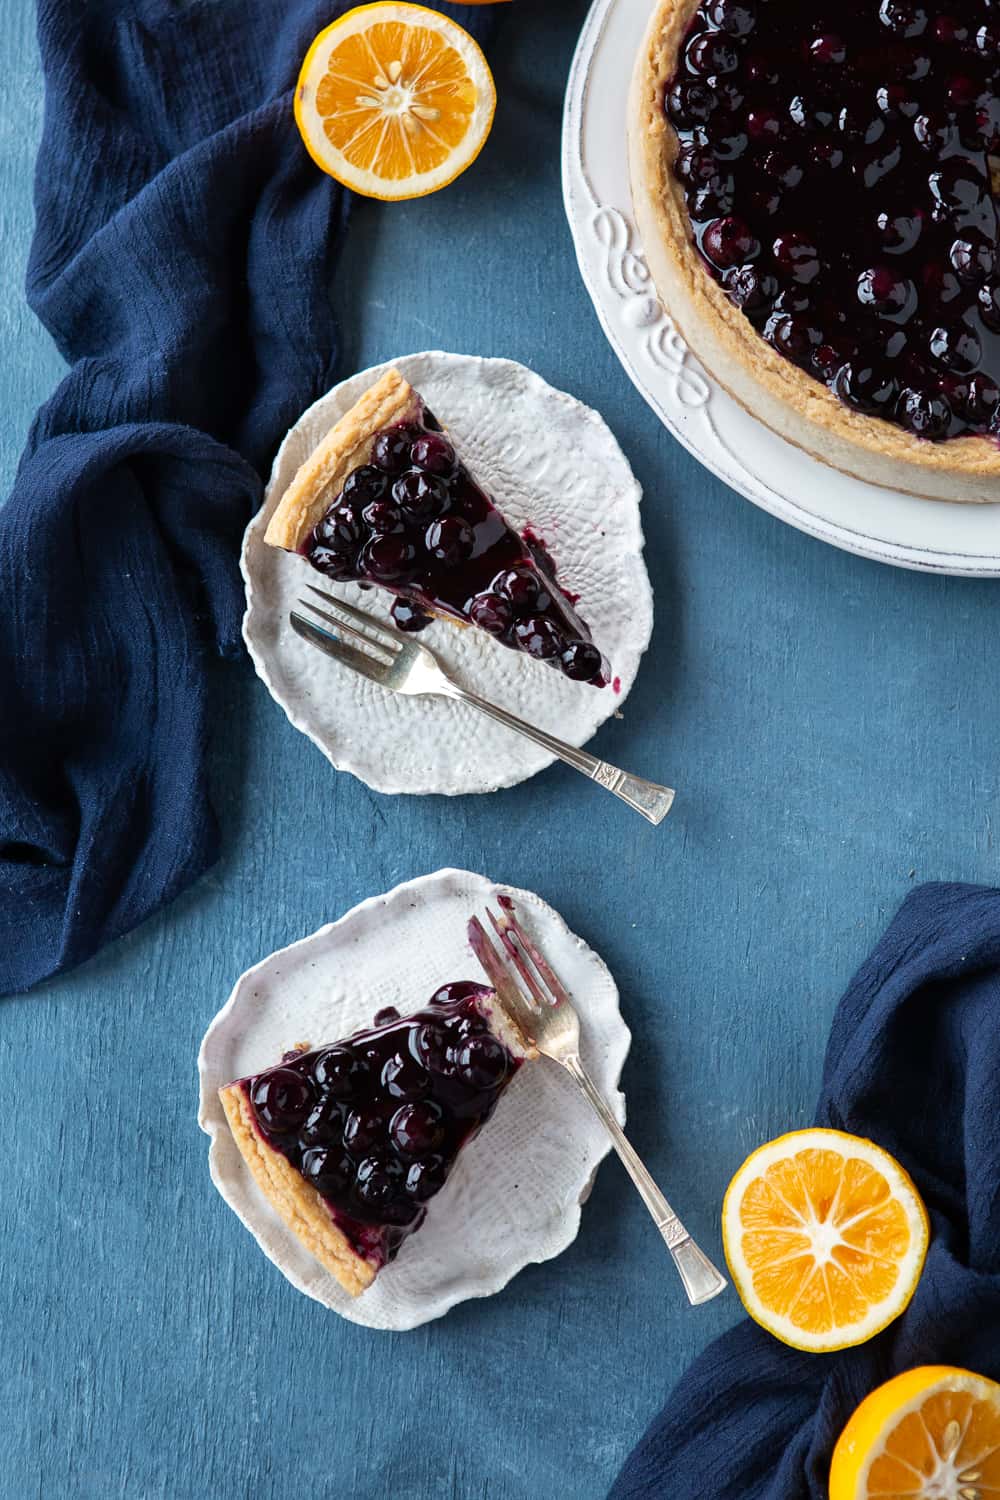
This cake is perfect for any celebration, or simply just because you feel like cake! I mean, I can personally eat cheesecake every single day.
You’ll love this cake because it’s:
- Moist
- Dairy-free
- Egg-free
- Vegan-friendly
- Gluten-free (optional)
- Smooth
- Delicious
- Creamy
- Super easy to make
Some other sweet recipes you’ll love:
- Classic Vegan Chocolate Cake
- Vegan Mango Cheesecake
- Vegan Chocolate and Pear Loaf Cake
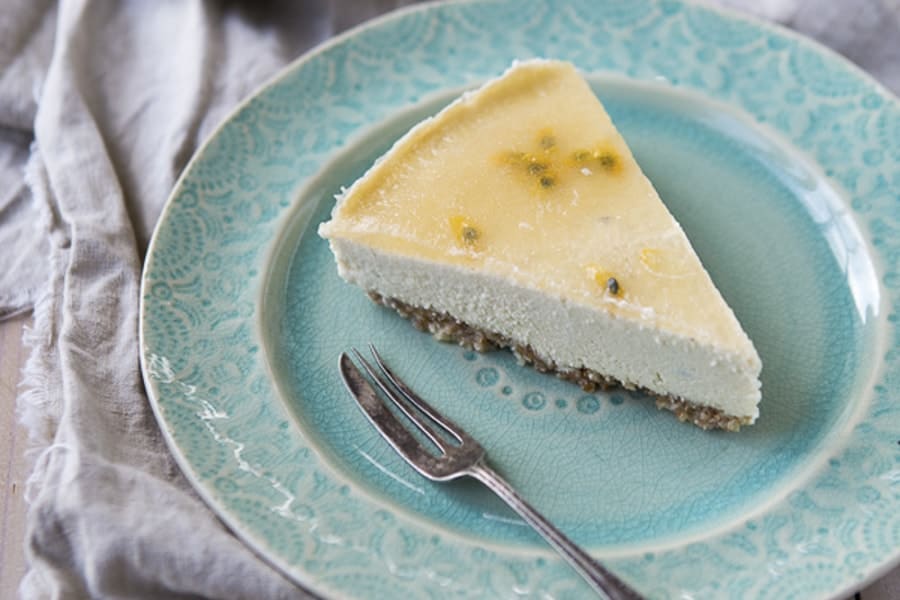
- Almost Raw Vegan Passionfruit Cheesecake
- Vegan Banana and Raspberry Muffins
- Easy Vegan Salted Caramel Cheesecake
If you try this recipe, let me know! We’d love for you to leave a comment and rating below. If you want to go that extra mile, tag us on Instagram, or share your photo of the recipe on Pinterest.

Baked Vegan Blueberry Cheesecake
- Prep Time: 30 minutes
- Chill Time: 12 hours
- Cook Time: 1 hour 15 minutes
- Total Time: 13 hours 45 minutes
- Yield: 9-inch cake, 12 slices
Description
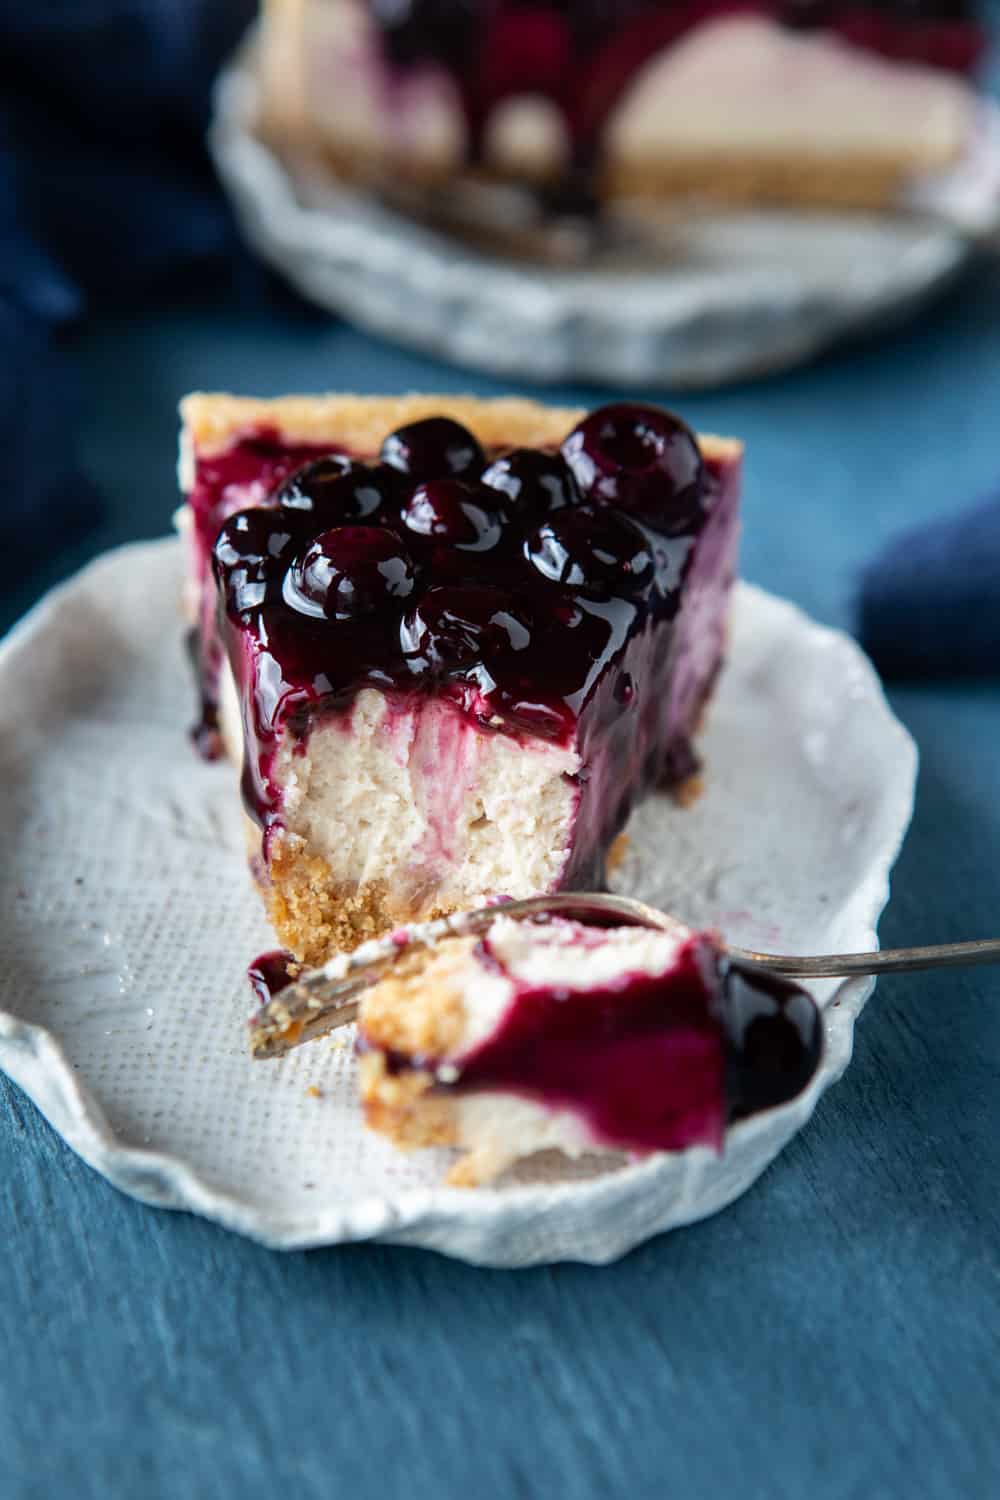
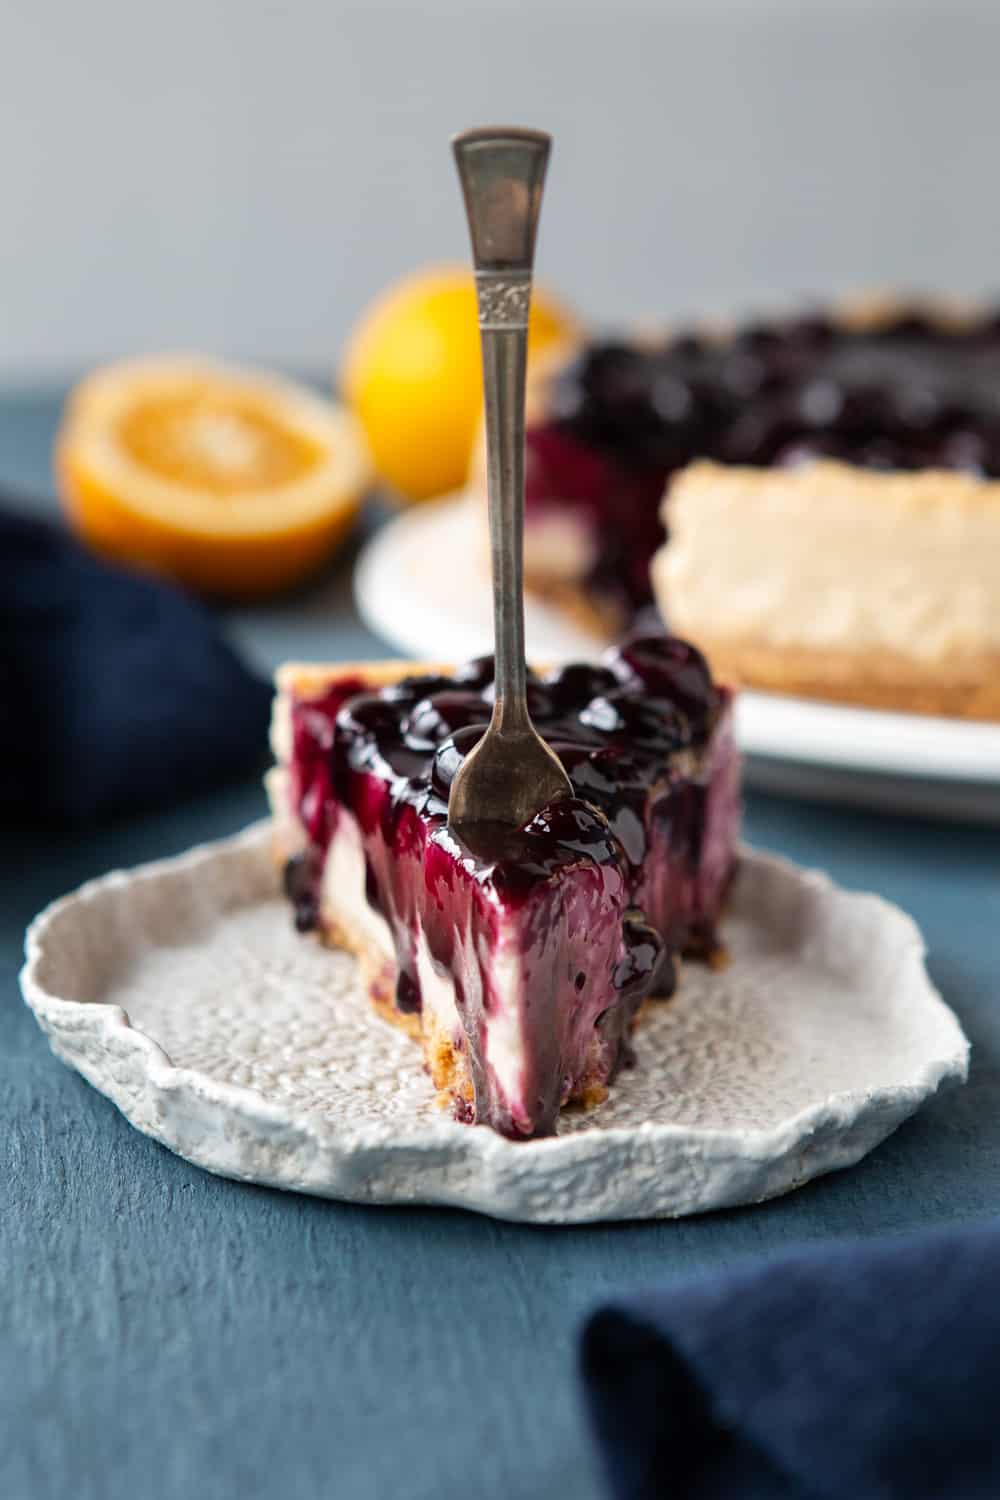
This baked vegan blueberry cheesecake is dense, smooth and creamy which pairs perfectly with the biscuity base and the refreshing blueberry compote. Cheesecake lovers, this one is for you!
Ingredients
Base:
- 165g / 5.82 ounces digestive biscuits* (graham biscuits or any other plain vegan biscuits will also work)
- 3 tablespoons / 35g coconut oil, melted (measured while solid)
- 1 tablespoon sugar* (optional if using biscuits that aren’t very sweet)
Filling:
- ¾ cup / 95g raw cashews
- 2 cups / 560g vegan cream cheese (I used Tofutti)
- 1½ cups / 350g coconut cream*
- ¼ cup / 60 ml lemon juice
- ½ cup / 160ml maple syrup
- 2 tablespoons tapioca powder/starch (arrowroot or corn starch will also work)
- 2 teaspoons vanilla extract
- Pinch of salt
Blueberry compote:
- 2 cups / 250g frozen blueberries
- 3 tablespoons coconut sugar
- 1 tablespoon tapioca powder/starch (arrowroot or corn starch will also work)
- 1 tablespoon lemon juice
- ⅓ – ½ cup / 60ml – 80ml water
Instructions
- Place cashews for the filling in a bowl and fill with boiling water. Set aside for 20 minutes.
- Preheat your oven to 180 degrees Celcius (355 degrees Fahrenheit) and line the base of a 9-inch springform cake pan with parchment paper.
- For the base: Place all base ingredients into a food processor and pulse until a fine crumb is achieved. Alternatively, you can place the biscuits in a ziplock bag, give them a good bash with a rolling pin to achieve a nice fine crumb, and combine it with the coconut oil and sugar in a small bowl.
- Transfer the base mix to the cake pan and press down evenly and firmly to line the bottom. Set aside in the fridge while you work on the filling.
- Drain the cashews and give them a rinse.
- For the filling: Add all ingredients for the filling in a high-speed blender and blend until nice and smooth. You may need to take it slow (on a low setting) as the mix will be quite thick. As it thickens, you can slightly increase the speed. Make sure to stop and scrape down the sides of the blender a couple of times during this step.
- Pour the filling into the cake pan and spread the mixture evenly. Tap the pan on the benchtop a few times to eliminate any bubbles trapped in the creamy filling.
- Place in the oven to bake for 1-1.5 hours. The cake is done when there is a slight wobble in the middle of the cake and slightly browned on the top.
- Turn the oven off and leave the oven door ajar. Leave the cake to cool inside the oven completely.
- Transfer to the fridge to set further for at least 3 hours.
- Once the cake is set, carefully run a knife around the inside edge of the springform pan to separate the cake from it. Release the pan and transfer to a plate, also removing the parchment paper.
- For the blueberry compote: Add all ingredients to a small saucepan on low heat. Mix occasionally and cook for around 10-15 minutes, depending on how thick you’d like the topping to be. You can also adjust the water depending on how runny you’d like it. I used ⅓ cup / 80ml, and it was quite thick.
- Let it cool a little before pouring over the cake.
- Serve on its own or with some coconut whipped cream.
Notes
Biscuits: For a gluten-free cake, use gluten-free biscuits. I used digestive biscuits, and they needed the coconut sugar addition.
Coconut cream: Use only the thick and creamy part of the coconut cream in the can. If you don’t have access to coconut cream, refrigerate a can of full-fat coconut milk overnight and then scoop out the cream that has separated on the top.
This recipe was last updated on 12 September 2021.
- Diet: Vegan

Hi
Im making this tomorrow and wondering how do you get the lip around the top of the cake before the berries are poured over.
TIA
Julia
Hi Julia, that happens when you bake and cool the cake. No special trick 🙂
I’m exited to try this but am a little annoyed that I came home with all the ingredients, read through the recipe and saw your note at the end saying if you’re weighing the cream cheese to weigh out 560g. I bought 460g thinking I was fine and now I’m going to have to go back! Can you please update the ingredients to mention the actual weight and not just 2 tubs of a specific brand please?
Hi Em, I’m so sorry about the confusion! I did try to make it super clear by adding it in bold in the notes so it’s hard to miss with the asterisk in the ingredients. I’ll see how else I can implement it into the ingredients.
I am very interested in trying this cake, but I’d like to know, if it really has to be in the oven for 1-1,5 h at 180 C? That is a very long timr for any cheesecake, that I have seen.
Also, will the cheesecake work, if mixing whole blueberries in the filling, before baking? I really like the texture, that berries give in a cake, but far from all cakes will work that way.
Hi Mathilda, yes that’s correct. That’s a normal time for baked cheesecake recipes. You might be looking at recipes where the filling is set in the fridge rather than being baked? They also do take longer to set that way too. You certainly can add blueberries in the filling, however, I haven’t personally tried it. I hope you love it as much as I do! 🙂