How To Make Vegan Chocolate Ganache
If you’re after a super simple, rich, creamy, decadent and dairy-free two-ingredient chocolate ganache that is great for dipping, spreading and filling, you’ve come to the right place!
In this post, you’ll learn how to make vegan chocolate ganache that can be adjusted to your taste and desired look.
This recipe is very quick and needs no more than 15 minutes from start to finish until you have a delicious thick ganache ready to go.
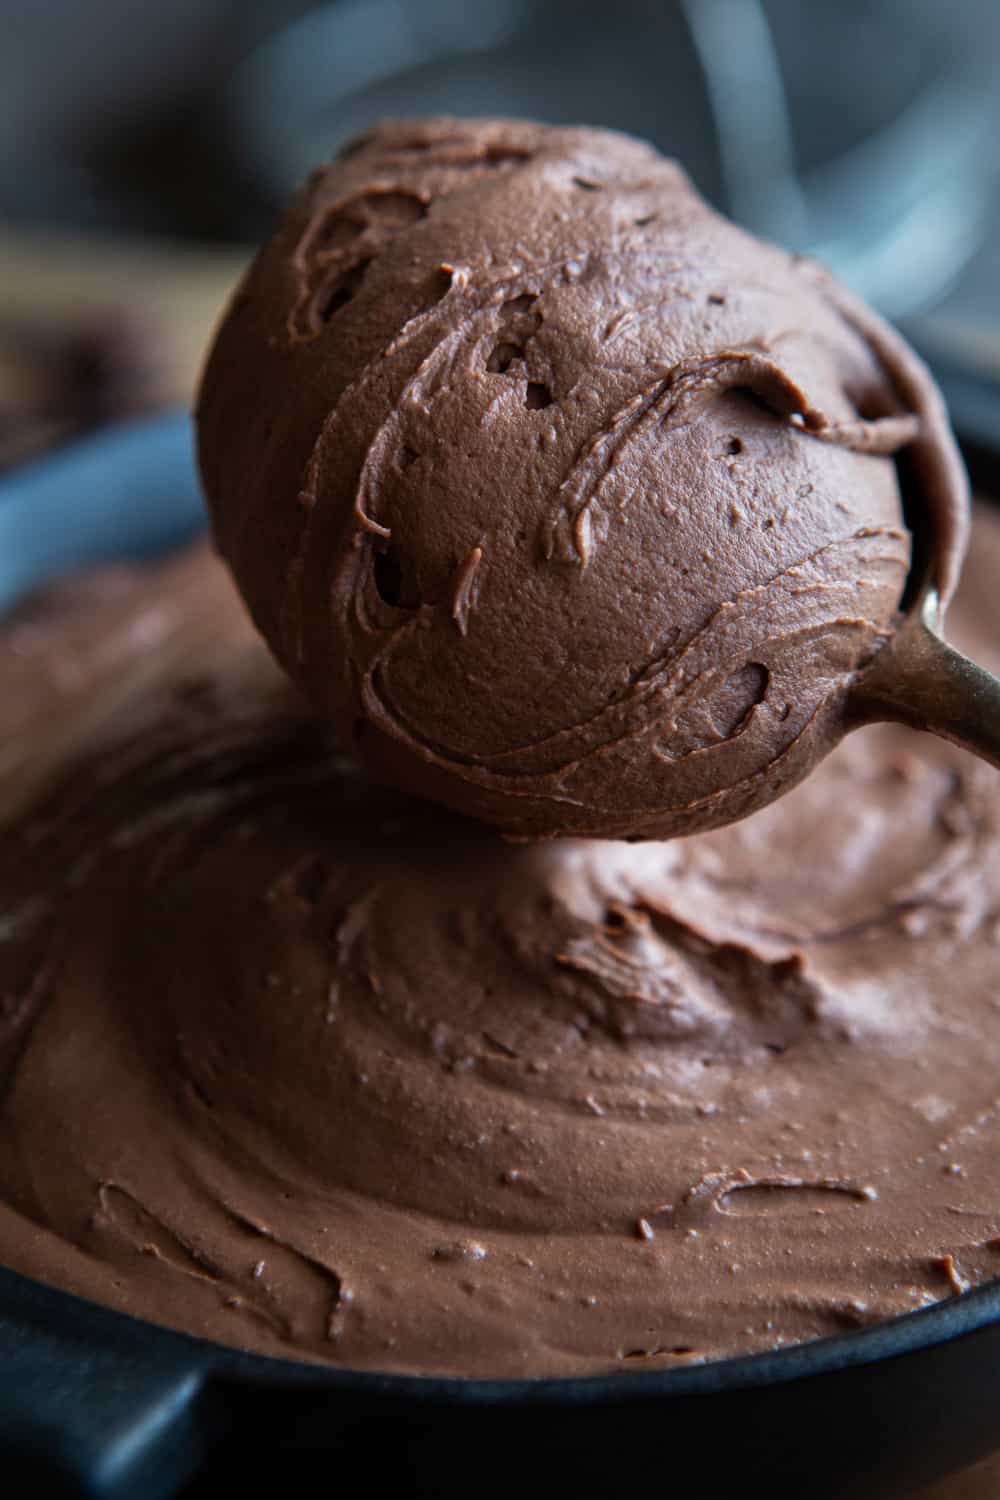
Kitchen tools needed to make this dairy-free chocolate ganache
You don’t need much at all! What’s required is:
- A bowl
- Small saucepan
- Whisk
That’s it! Oh, and a storage container if you don’t want to put the bowl directly in the fridge to let the ganache set. However, you don’t need to put it in the refrigerator for long as it starts to thicken as soon as it’s stirred together.
If it’s cooler in your home, you can easily skip the refrigeration time.
Tips on making a vegan chocolate ganache frosting
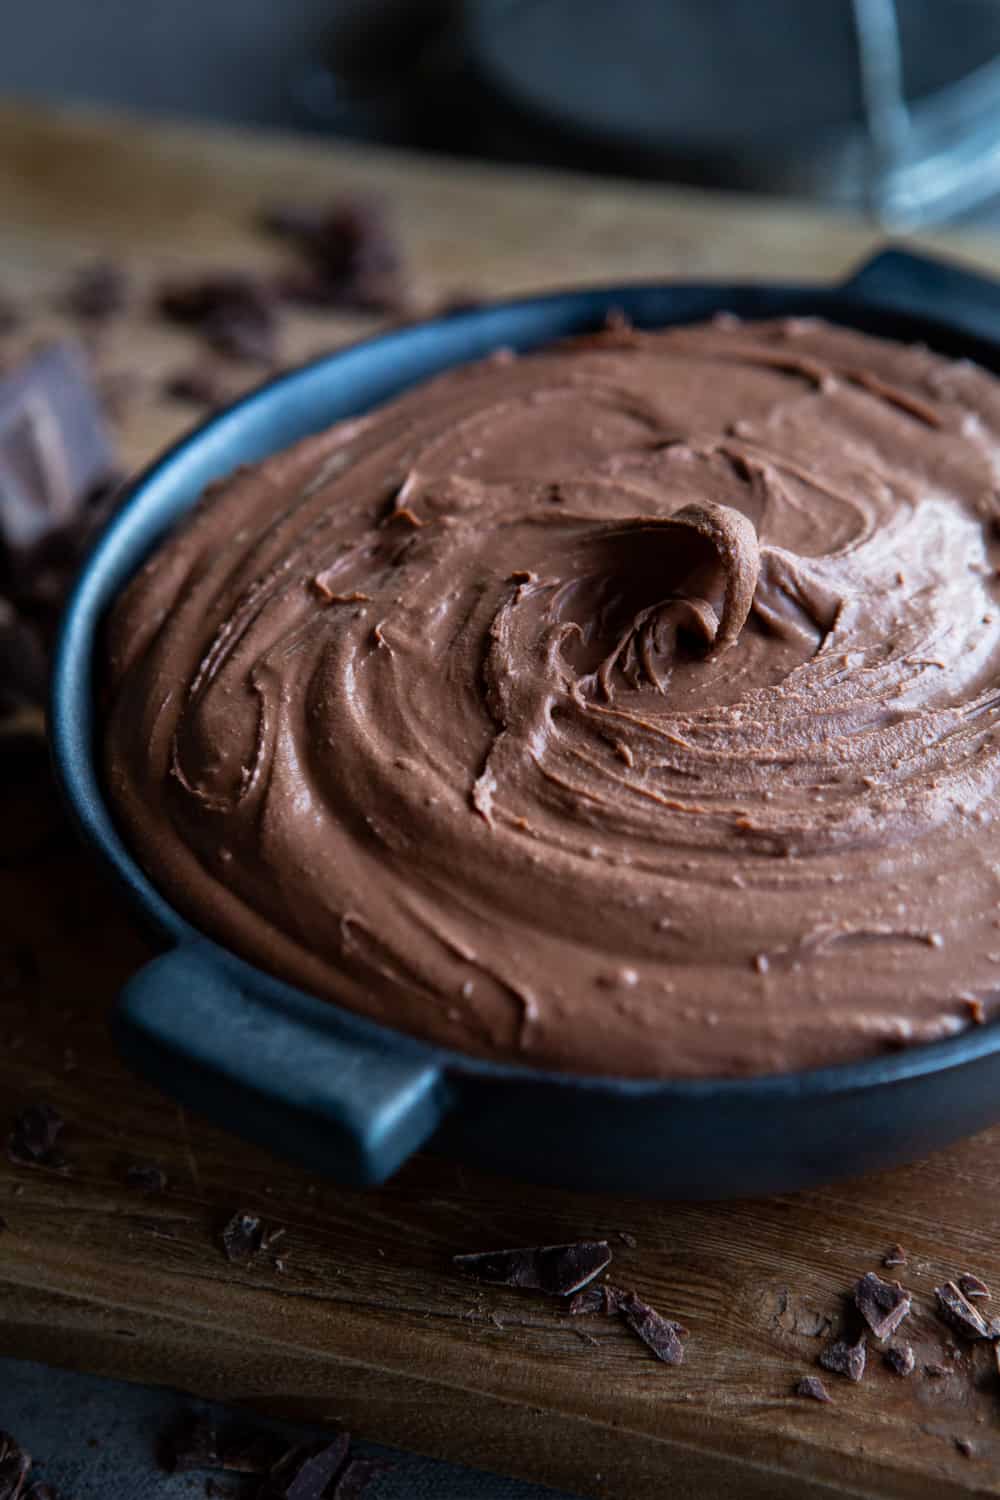
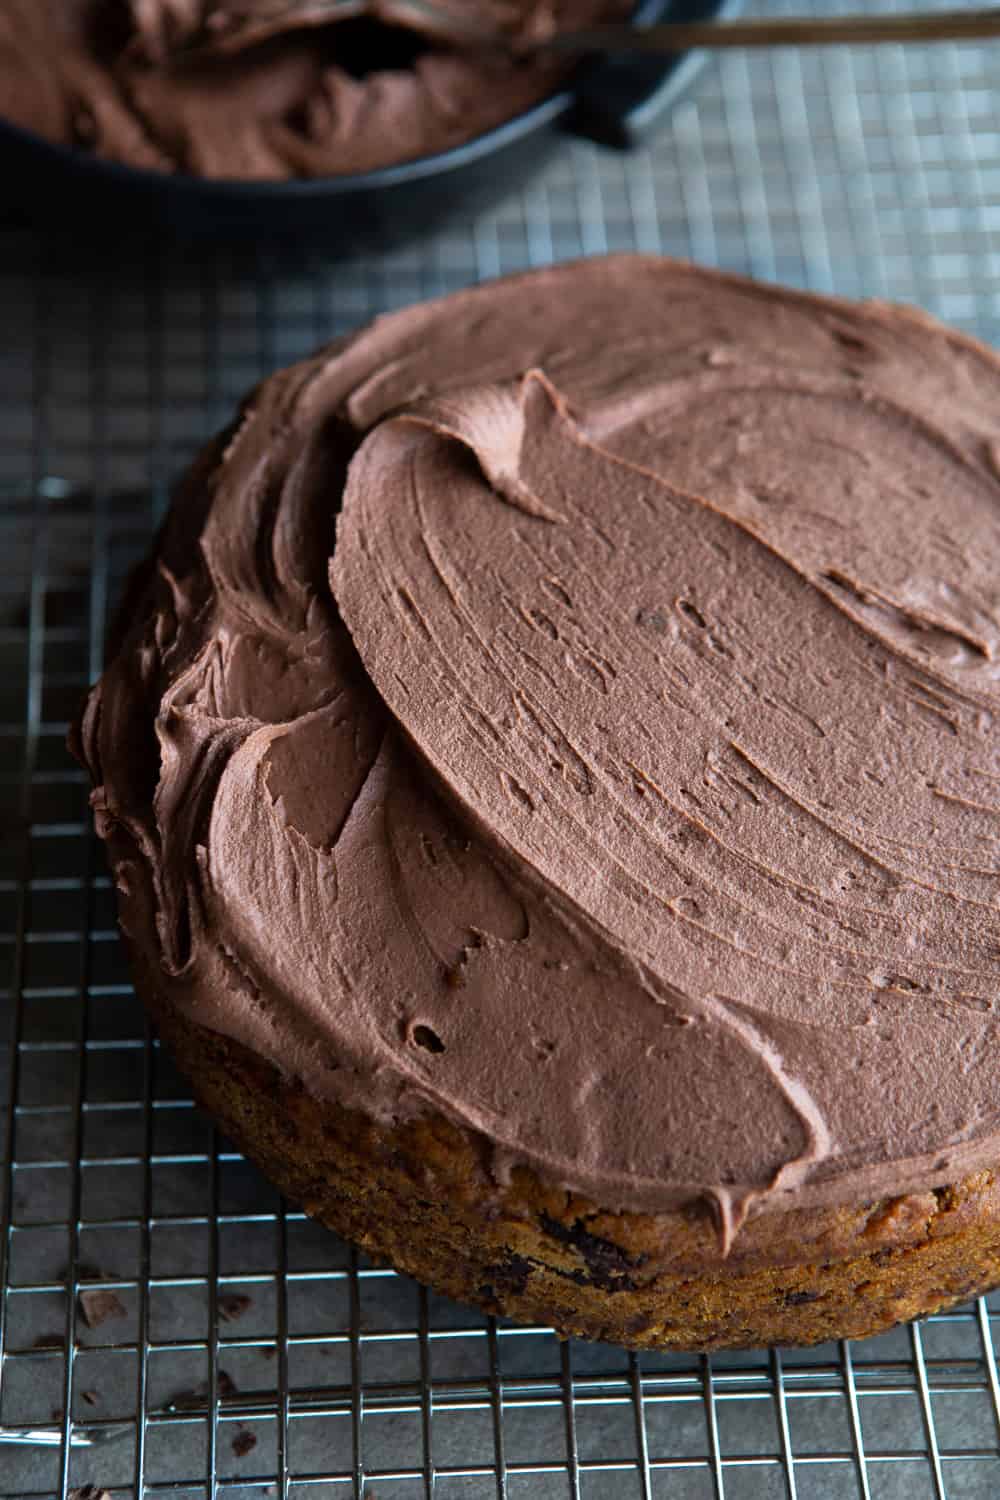
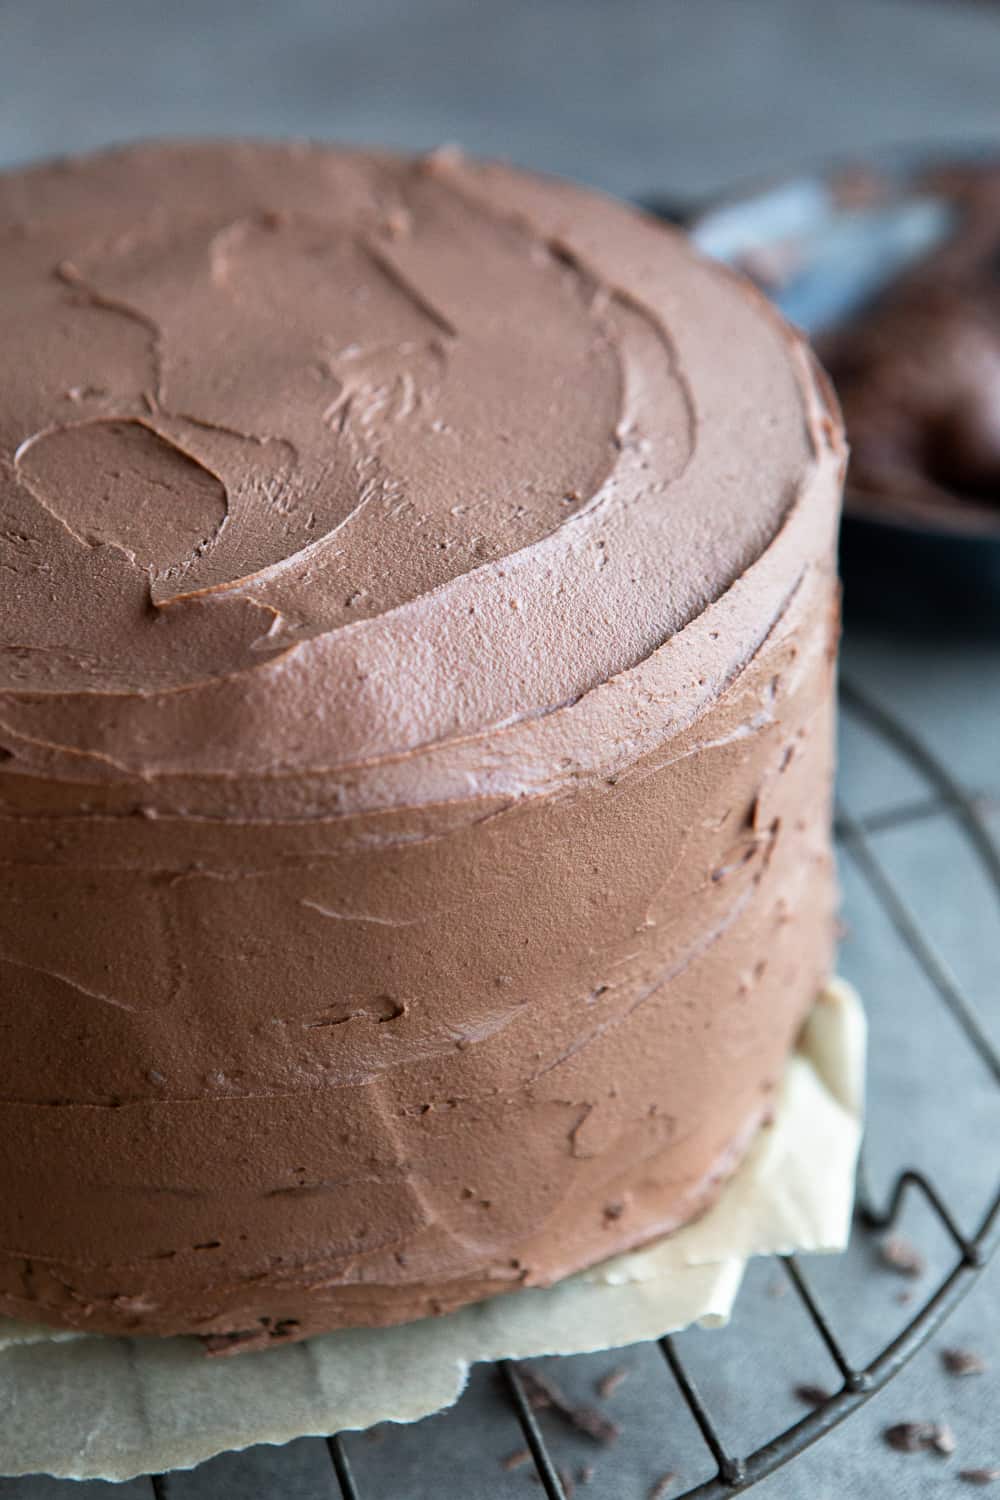
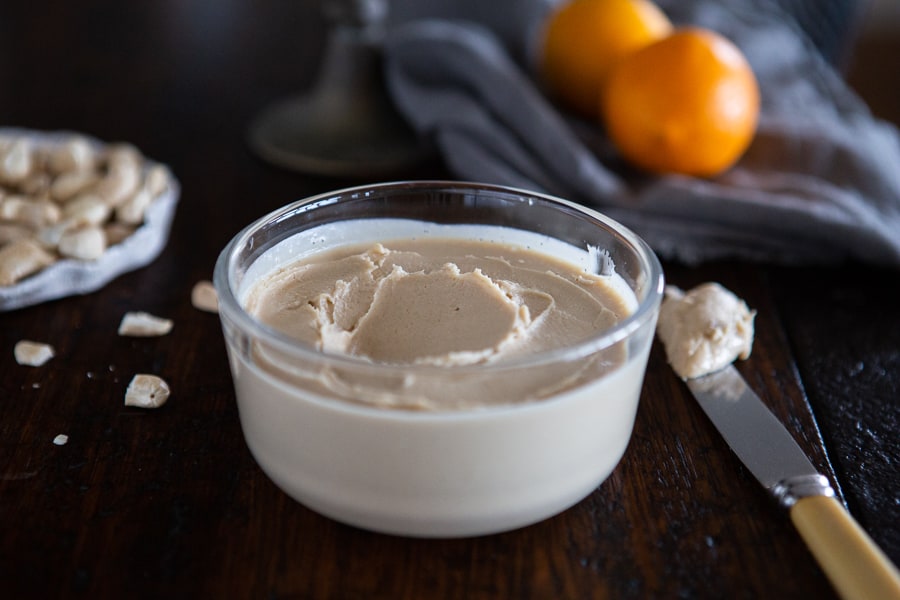
- As you can see, this goodness is super thick and creamy. If you’re after a thinner consistency, use slightly less coconut cream and more chocolate or just more chocolate.
- You can use canned coconut milk instead of cream, but make sure that you let it set in the fridge for longer. Check on it after 30 minutes and see if it’s at the consistency that you’d like. If not, give it a quick stir and pop back in the fridge for a little longer.
- If you’re using chocolate chips, you can warm up the coconut milk or cream in the saucepan instead of the chocolate and just pour it over the chocolate when warm, and it will melt the chocolate. Wait a couple of minutes and then give it a good stir and leave to set. I use larger chunks of chocolate; therefore, I find it easier to melt the chocolate and then incorporate.
- You can store this vegan whipped ganache in an airtight container for up to 5 days in the fridge. If you’d like it a little softer then it has become after longer storage, give it a good mix and let it sit out for about 10-15 minutes to loosen a little.
- Use a full-fat coconut cream to get the best results. This will help the ganache to thicken and set nicely. I use a coconut cream brand that has a thickening agent (guar gum) in it so that the cream is nice and creamy straight out of the can. This is the type of cream you’re after. Check out my coconut whipped cream recipe for visuals.
- If you want your chocolate to melt faster, chop it up into smaller pieces before melting.
Some ideas of how to use this vegan chocolate ganache
This ganache can be used in so many different ways; here are a few ideas for you!
- Spread over pancakes or crepes for breakfast
- Topped on cupcakes and muffins
- Smeared on top of cakes and loaves
- Used instead of coconut whipped cream in scones or biscuits
- Thinned out with more chocolate to top vegan ice cream
- Added as a tart filling topped with your favourite fruit
- Dip your favourite fruit into it—perfect for strawberries!
I also love to use this recipe in my Chocolate Truffles, Classic Vegan Chocolate Cake and Vegan Banana Cake with a Chocolate Ganache. You can also spread it nice and thick on this Vegan Vanilla Cake or this Chocolate and Pear Loaf Cake.
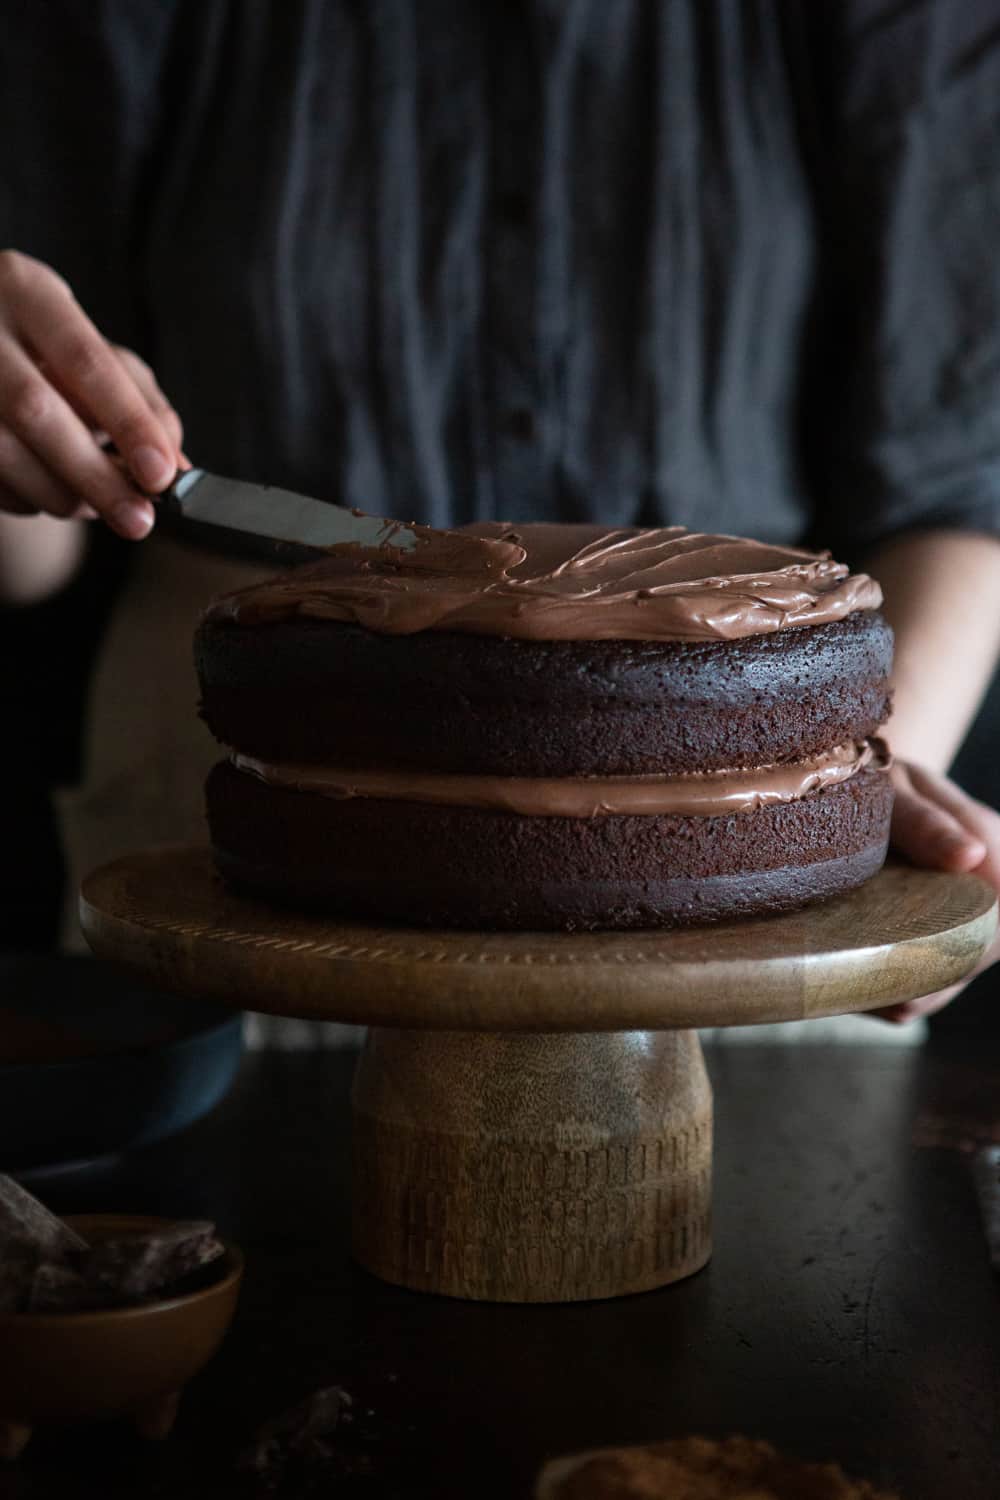
This ganache can easily replace sugar-rich icing for your next birthday cake. It’s healthier and not sickly sweet!
Now keep reading to see how quick and straightforward this chocolate ganache is to make.
Other plant-based how-to’s you’ll love:
- How to Make Vegan Custard
- How To Make Coconut Whipped Cream
- How to Use Aquafaba in Your Cooking (+2 Recipes)
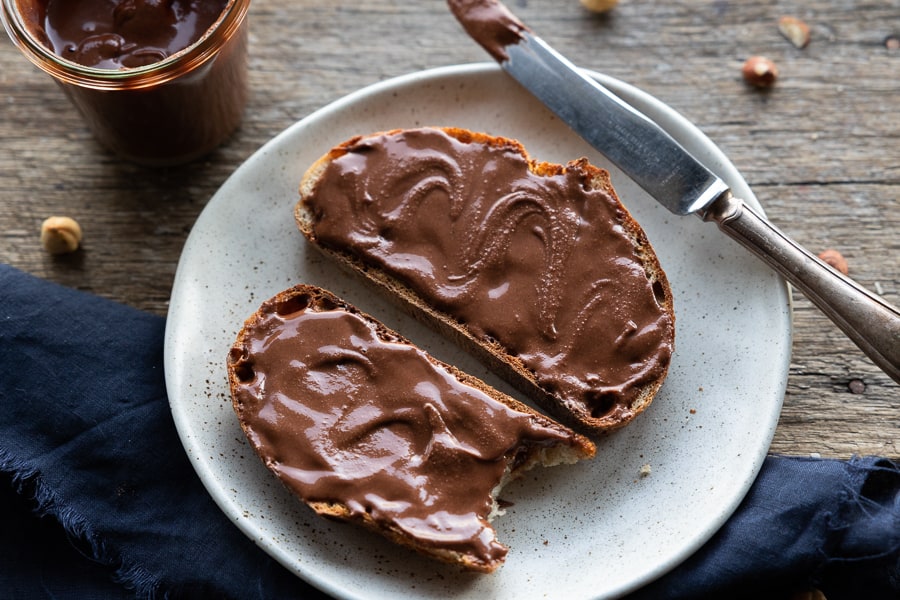
- Vegan Chocolate Hazelnut Spread
- Healthy Vegan Cream Cheese Frosting
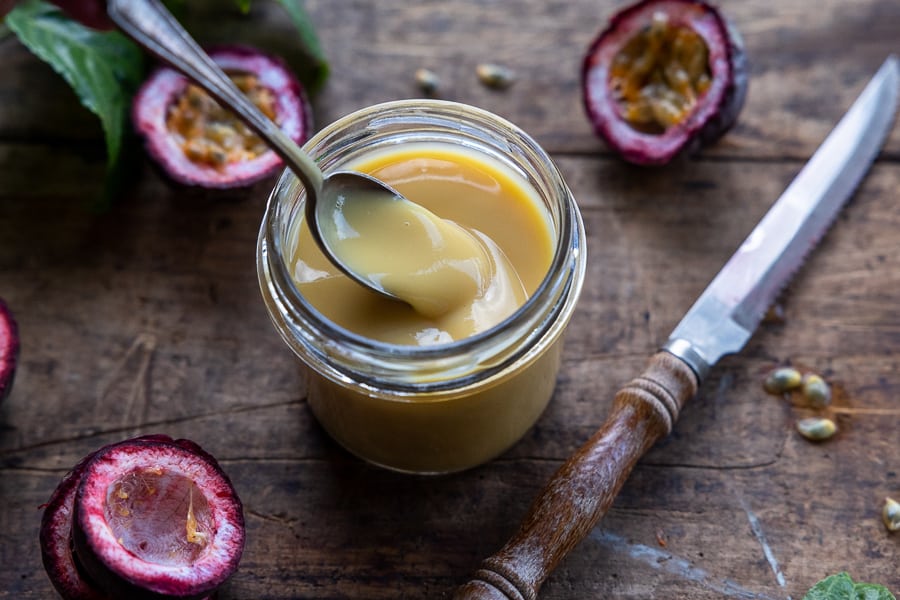
- Easy Vegan Passionfruit Curd
If you try this recipe, please let me know! We’d love for you to leave a comment and rating below. If you want to go that extra mile, tag us on Instagram or share your photo of the recipe on Pinterest.
Print
How To Make Vegan Chocolate Ganache
- Prep Time: 7 minutes
- Cook Time: 10 minutes
- Total Time: 17 minutes
- Yield: Approximately 1½ cups ganache
Description
Here’s a simple step-by-step tutorial on how to make a silky smooth vegan chocolate ganache to spread on your favourite dessert.
Ingredients
- 150g / 5.29 ounces vegan chocolate (I used 55% cocoa for the added sweetness)
- 1 cup / 230g coconut cream*
Instructions
- Place the chocolate in a small saucepan on very low heat on the stove (alternatively over a double boiler). Stirring as it melts.
- Once it has all almost melted, remove from heat and let it completely melt, stirring. The heat from the pan will finish the melting without burning the chocolate.
- Add in the coconut cream and whisk until fully combined. I like to use a whisk to make sure that the chocolate and cream are well incorporated.
- Let it cool for around 5-10 minutes. At this point, it will have thickened enough if you want to use it.
- Alternatively, place in the fridge once cooled to firm up even more and become and nice thick ganache.
- Store in the fridge for up to 5 days.
Notes
Coconut cream: Coconut cream is the thick part that sits at the top of the can of coconut cream or chilled coconut milk.
Please read the tips above and ways of using this vegan chocolate ganache.
- Diet: Vegan

Hello, I love getting your weekly newsletter and the recipes look amazing.
I Hesitate to try most of them because of the units of measurement. Unfortunately, here in the U.S. we use the Imperial system ( cups, teaspoons, tablespoons)… and trust me, none of know why! I see that sometimes you list both grams and cups, but not always. If there’s any chance you could list both measuring forms on your list of ingredients, that would be fantastic! If not, I’ll still love you two!!!!
Thank you for the work you do, I’m always so excited when I receive it.
Hi Bertie, thanks for your question. It’s a tricky one as with cakes, in particular, it’s very important to get the ingredient measurements right. This is why for cakes and other recipes where precision will give the best results I use grams and millilitres. This is because cup measurements, in particular, vary from country to country (silly, I know) so what may be 1 cup for me, might only be ¾ cup for you, for example. For smaller amounts, I do normally use tbsp and tsp as it’s not as important. If there is another way that you’d prefer me to measure it out, please let me know. I have found that this, however, is the best way to make sure that everyone that tries the recipes has the best chance at success.
This is not an ‘American’ thing, it is an incorrect way to bake. Any decent American baker will use a weighing scale. Cups and tablespoons are a completely incorrect in baking (and cooking). A kitchen scales is the same price as a set of cups and takes up less space.