Vegan Kremšnita (Vanilla Custard & Cream Cake)
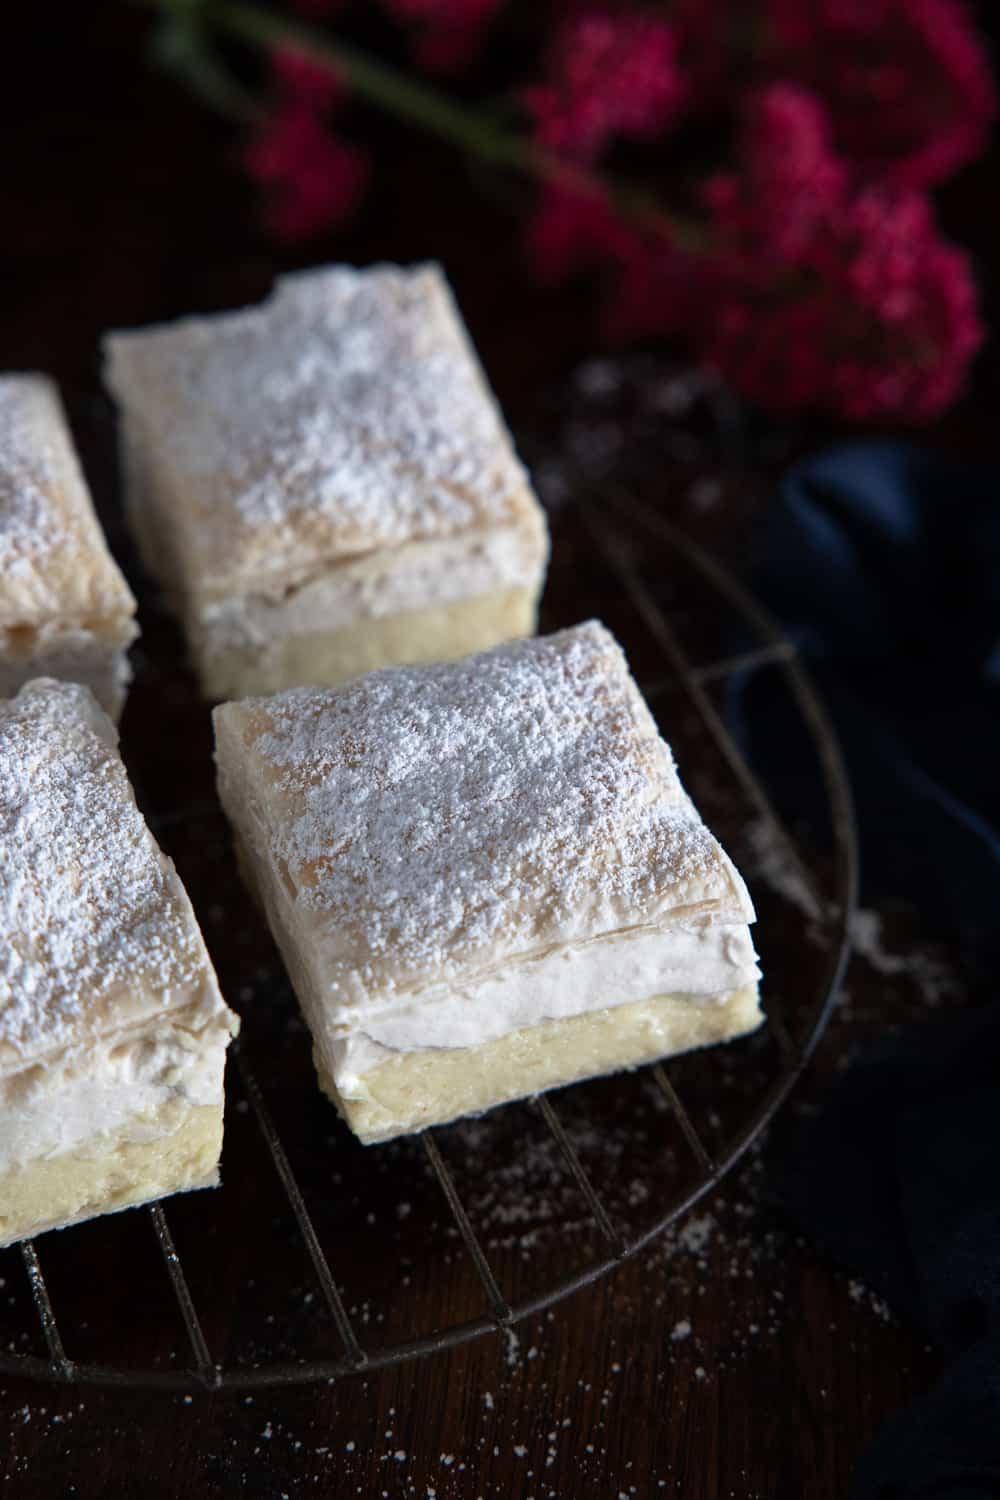
This beautifully creamy, melt-in-your-mouth vegan kremšnita, aka vanilla custard & cream cake, will quickly win you over. You’ll be wondering where it’s been all your life!
I must admit, this would have to be one of my favourite desserts of all time. Growing up in Slovenia, this dish is known as kremna rezina, which gained its popularity at one of the country’s well-known tourist attractions called Lake Bled.
Lake Bled is a beautiful picturesque town that has a gorgeous little island in the middle of the lake with a church. People travel from all over to try this decadent and fluffy dessert, while sitting and enjoying the most spectacular views.
As well as Slovenia, this custard slice is well known, and where it originated from, Croatia. A little town just outside Zagreb called Samobor is where it was created in 1923 by Đuro Lukačič.
Other places where this wonderful dessert can be found, with their own variations is in Serbia, Montenegro, and Macedonia where it’s called krempita (only the custard layer), Slovakia where it’s named krémes, in Austria and Germany where it’s known as crèmeschnitte.
Serbia has another similar dessert, which is called Šampita. This is essentially only the cream/meringue part of the layer you see in this dessert. It’s an Italian meringue between two sheets of puff pastry.
With so many different variations out there, I decided to veganise the one that was closest to my heart and the way that I have enjoyed this custard slice growing up.
When Michael, my husband and I were on our way to Slovenia back in 2015, I turned to him and said: “There is one thing that I will eat while we’re in Slovenia and this is the only thing that I will knowingly eat that’s not vegan, ever.” If you want to hear the whole story, you can tune in on our podcast episode The Vegan Trade-Off – Episode 024.
Now that we have all the history and personal stories out of the way, let me share with you the amazing reasons you should make this delicious dessert.
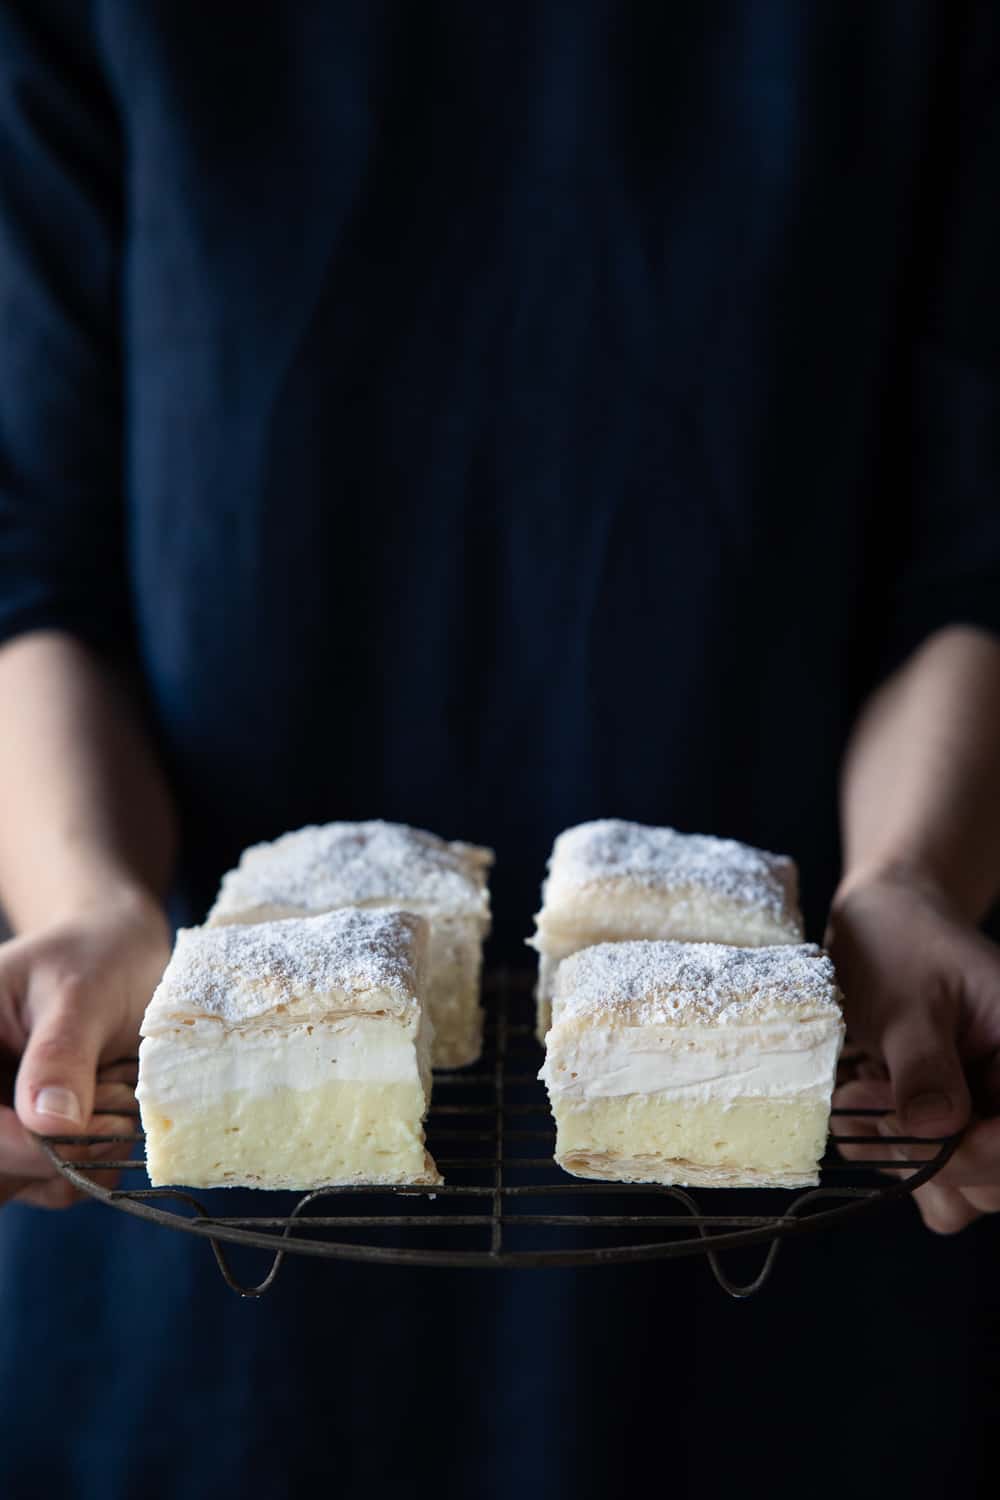
Kitchen tools needed to make this vegan vanilla custard slice
The tools that you’ll need to craft this dairy-free kremšnita are the following:
- Springform square tin or square baking dish. Mine was the size of the puff pastry at approximately 22cm (8.66 inches)
- 1-2 large sheet pans or flat baking trays
- Hand help electric whisk or stand mixer with a whisk attachment
- Silicone spatula
- Medium saucepan
- Spoon
- Whisk
- Measuring cups and spoons
- Scales
- 2x Medium bowl (for whipping coconut cream & whipping aquafaba)
- Large bowl
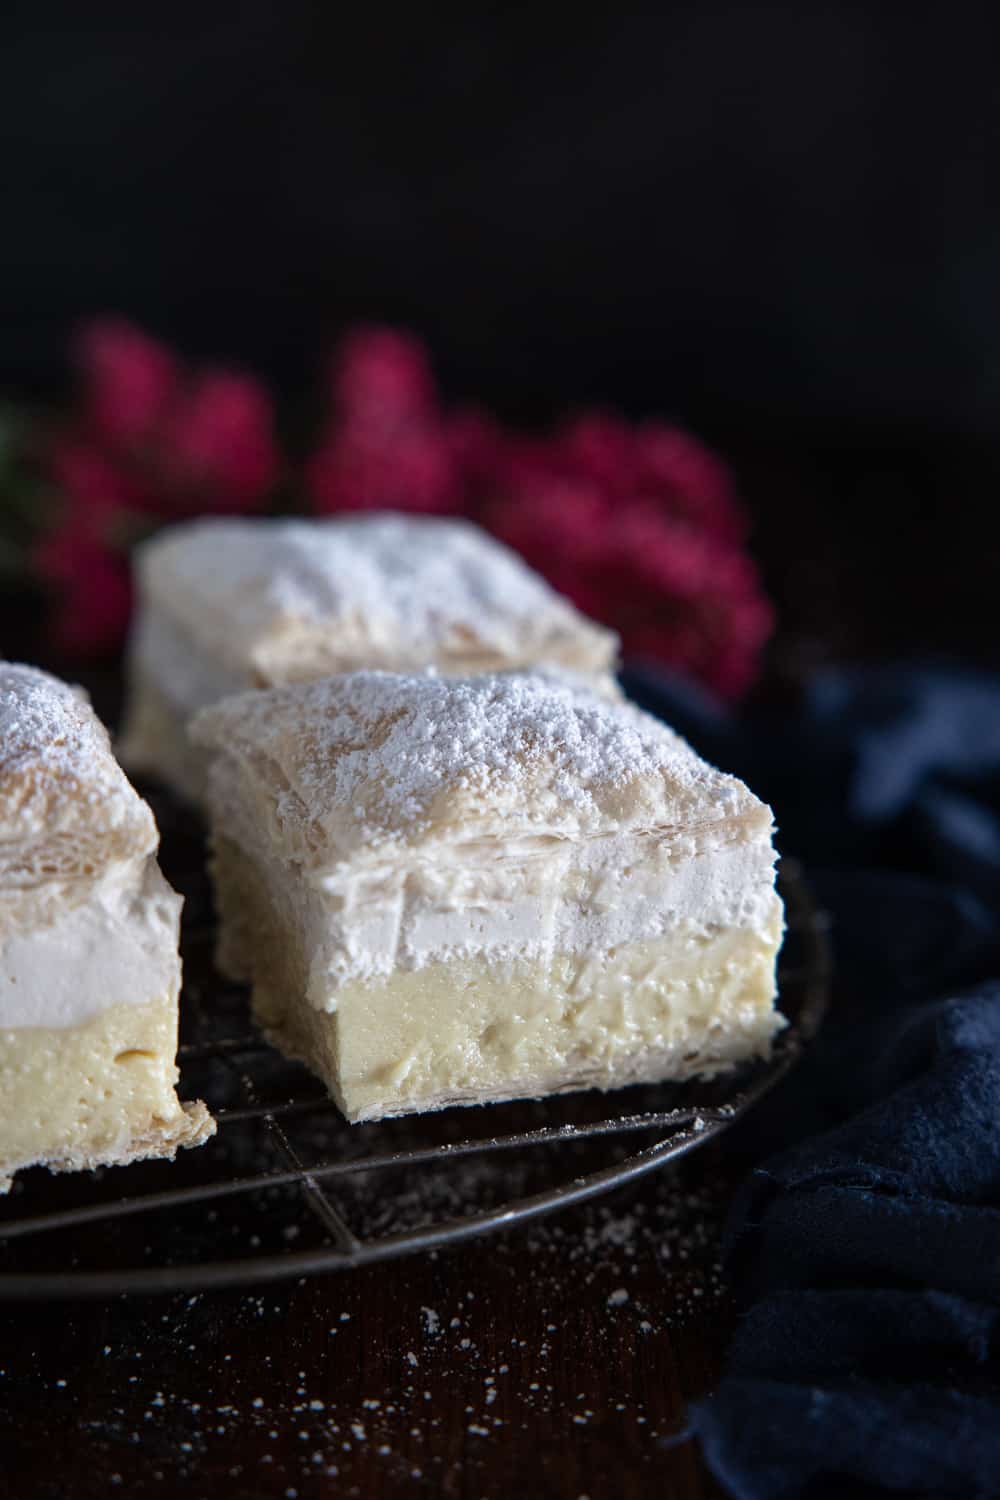
Tips for making this vegan kremšnita
Please read the tips and tricks before you begin making this dessert.
- Since this cake is not baked and needs time to set in the fridge, it’s important to use a dish that has depth. With it being vegan and quiet a tall slice, it needs the walls to help keep it together while it sets. If you don’t have anything like this, just use less custard in a shallower dish and first refrigerate the whipped cream, so it firms up before spreading onto the custard layer.
- When the custard mix is on the stove, please be careful not to burn it. It can burn within seconds if you’re not careful. Trust me, I know! It’s happened to me when I wasn’t paying enough attention.
- Make sure to cook the custard long enough, if it’s not, it won’t set properly and will be tricky to cut.
- It’s important to let the custard cool completely before adding the coconut whipped cream layer to the slice. Otherwise, the cream will melt, and you will have a bit of a sloppy mess on your hands.
- Don’t skip on pre-slicing the puff pastry before baking it for the top layer; it will make it SO much easier to slice when you’re ready to serve.
- This slice is best left overnight in the fridge to set, with a minimum of 4-5 hours. I have never left it that short of time, but you can check and see if it’s set enough to slice at that hour.
- Don’t swap the corn starch for arrowroot or tapioca starch in this recipe. The custard will not turn out as well as it does with corn starch.
- If you don’t want to use aquafaba in the custard layer to make it that extra bit fluffier and creamier, you can skip this. But please trust me when I say that you won’t taste the chickpea water flavour at all. The custard will be more traditional that way as you would typically fold in whisked egg whites for a traditional recipe.
- Prepare the aquafaba only once the custard has cooled enough for you to whisk it in. If you pre-whisk it and leave it, it will slowly go back to liquid.
- If you have access to a vegan whipped cream, you can use that instead of the coconut whipped cream. I can’t guarantee the same great taste, but it could be an alternative if you can’t get really good quality thickened coconut cream, or if you’re pressed for time.
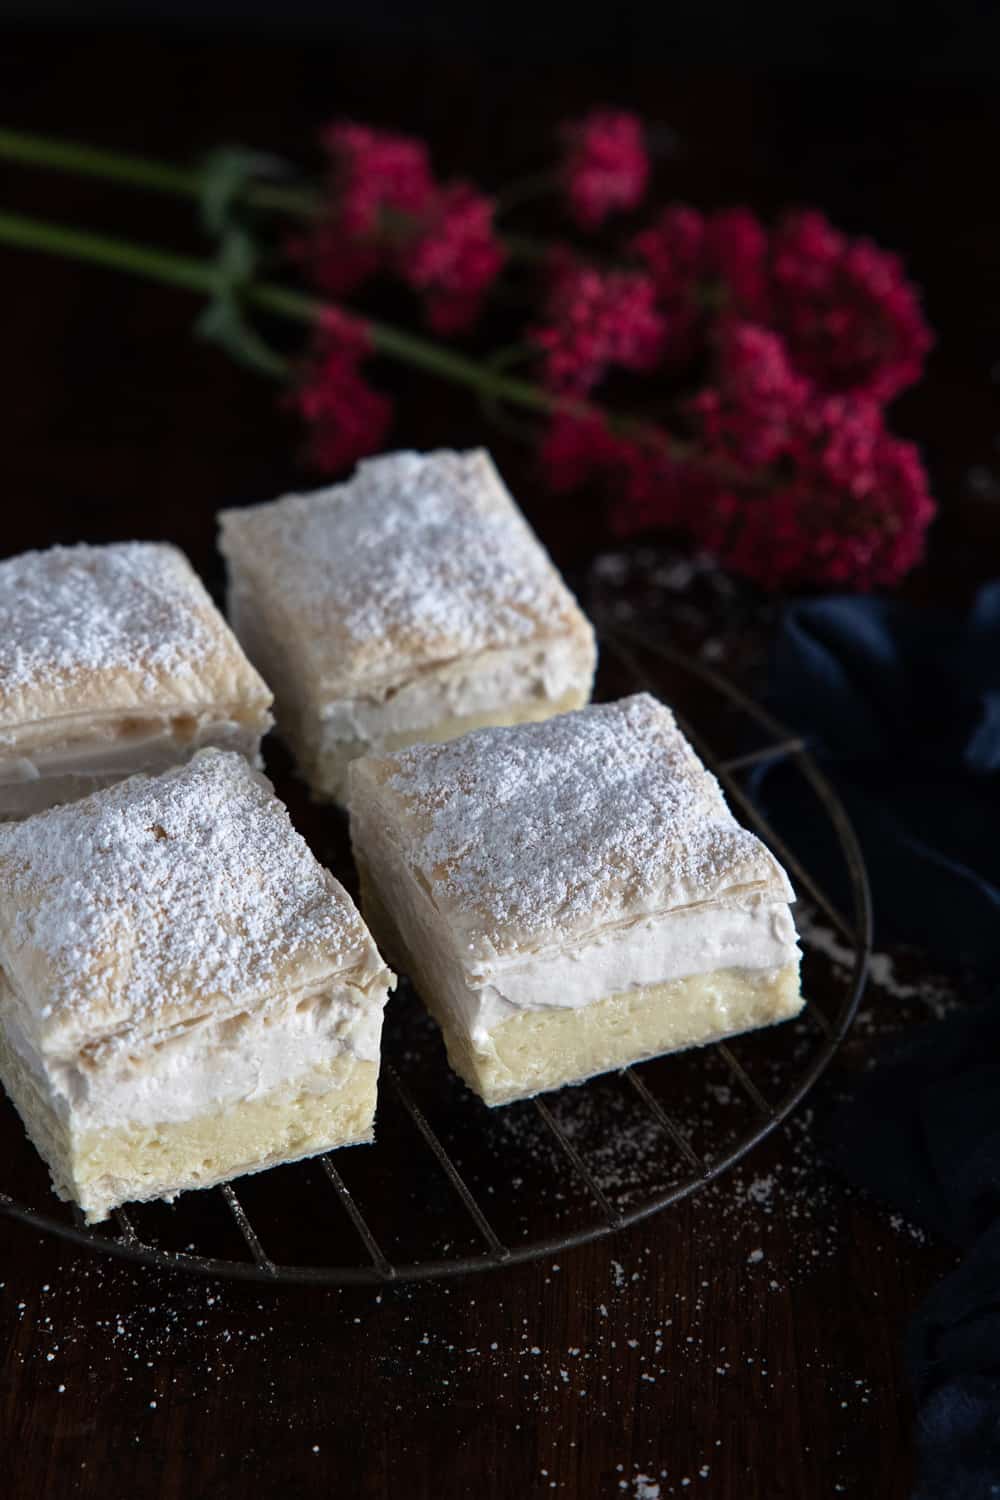
The layers in this slice
In this slice, you have three different layers:
Puff pastry
Most puff pastry that you’ll find in the supermarkets is vegan, as using butter is not so common. I would, however, always check the ingredients before buying. The top and bottom layers of puff pastry ensure that the custard slice has a wonderfully flakey and melt-in-your-mouth sandwich for the cloud-like filling.
Read more: 16 Vegan Puff Pastry Recipes (Sweet & Savoury)
Fluffy custard
This layer is bigger in volume and not as dense as a custard you’d normally find in a vanilla custard slice. This is because there is whipped aquafaba folded into it to give it height, flavour and a lighter custard. This is typically done with whipped eggs whites that are folded into an egg custard. We’re creating that same result with some great vegan alternatives 😉
Read more: 15 Tasty Aquafaba Recipes (Sweet, Savoury & Vegan)
Whipped cream
This is traditionally done using dairy whipping cream – heavy or normal. You can also make it with meringue. I’ve decided to make this layer using my coconut whipped cream. It adds freshness and is a cream that most people no matter where they are can make. Alternatively, if you have access to products like soy whip, you can use that instead (as mentioned in the tips above).
With those three separate components combined, you get a rich, velvety, creamy dessert.
You’ll love this recipe because it’s:
- Dairy-free
- Egg-free
- Vegan-friendly
- Creamy
- Delicious
- Fluffy
- Easy to eat
- Addictive!
Besides the fact that this slice tastes like heaven in your mouth, it’s very easy to prepare and requires no baking (besides the puff pastry). All you need is to bake the puff pastry for ten minutes, make the custard and whipped cream, assemble it and let it set in the fridge.
Watch how to make it (Full video)
Some other sweet recipes you’ll love:
- 3-Ingredient Chestnut Puree With Whipped Coconut Cream (Kesten Pire)
- Baked Apples with Dates and Nuts (Tufahije)
- No-Bake Vegan Mango Cheesecake Bars (Gluten-Free)
- Easy Vegan Carrot Cake
- Vegan Cherry Strudel with Cream Cheese
- Vegan Plum Dumplings (Posne Knedle sa Šljivama)
If you try this recipe, let me know! I would love for you to leave a comment and rating below. If you want to go that extra mile, tag us on Instagram, or share your photo of the recipe on Pinterest.
Print
Vegan Kremšnita (Vanilla & Custard Cream Cake)
- Prep Time: 40 minutes
- Chill Time:: 5 hours
- Total Time: 5 hours 40 minutes
- Yield: 9 slices
Description
This slice has three different components and, when married together, make the most amazingly creamy, decadent dessert that you’ll ever try. Perfectly balanced and not too rich, you can go back for seconds or thirds!
Ingredients
Custard:
- 4 cups / 1 Litre soy milk (or plant milk of choice)
- 1 cup / 110g corn starch
- 1 cup / 200g raw sugar (organic if in the US to make sure it’s vegan)
- 1 cup / 230g coconut cream*
- 1½ tablespoons vanilla extract
- ¼ teaspoon turmeric powder (optional but gives it a nice yellow colour, you won’t taste it)
Extras:
- ⅓ cup / 78ml aquafaba, (chickpea water)*
- 3 tablespoons icing/powdered sugar (organic if in the US to make sure it’s vegan)
Coconut whipped cream:
- Follow this recipe. (Make sure to double the recipe and add additional 6 tablespoons of plant milk. You can skip the chilling part.)
Pastry:
- 2 sheets (approximately 22cm x 22cm / 8.66 inches x 8.66 inches) vegan puff pastry*
- Icing/powdered sugar, for topping (optional)
Instructions
- For the custard: Add 500ml / 16.91 ounces of the milk to a medium-sized saucepan and place on medium-high heat until the milk warms up.
- In the meantime, add the rest of the custard ingredients along with the other 500ml /16.91 ounces of milk to a large bowl and whisk until well combined.
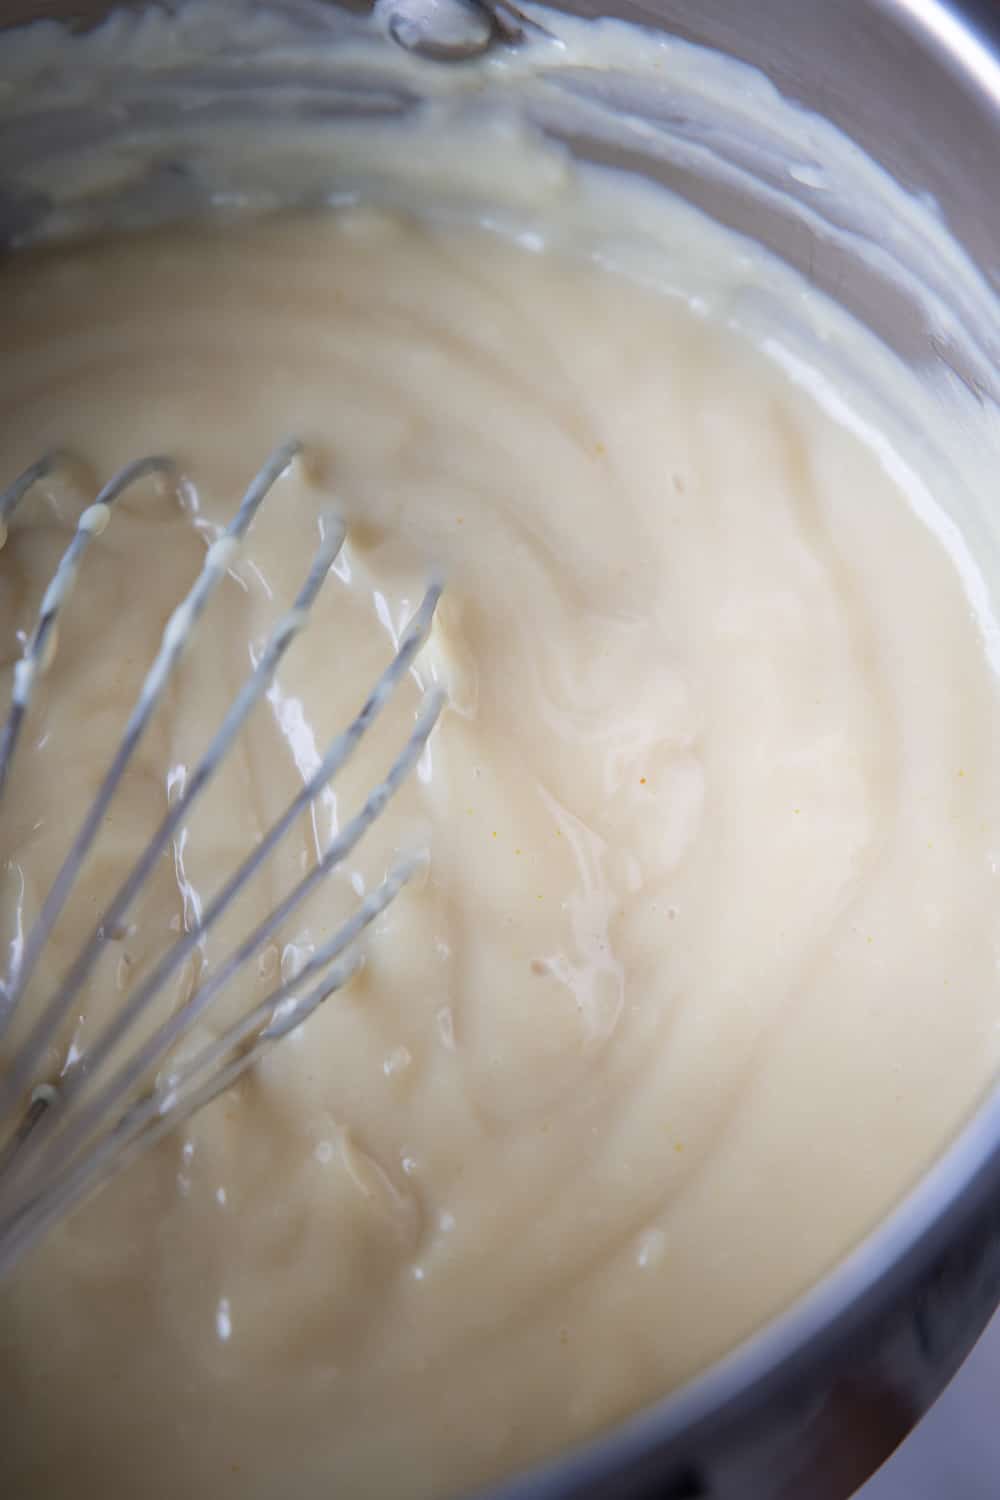
- Once the milk has come to a gentle simmer, pour in the custard mix and whisk for around 5-6 minutes until it starts to thicken or starts to stick to the bottom of the saucepan. You will feel it. Whichever one occurs first, then reduce the heat to low and cook stirring for an additional two minutes. The custard should be nice and thick. If it’s not, keep cooking and stirring until it is.
- Clean out the large bowl that you just used and pour the custard into it to let it cool. If it’s a nice cool day outside, take it outside to cool or leave it on the bench, occasionally stirring to disperse the heat.
- Preheat oven to 200 degrees Celsius (390 degrees Fahrenheit) and brush two sheet pans that would fit the puff pastry that you’re using with neutral oil. If you don’t have two racks in your oven, then you will just need to bake one at a time. Otherwise, you can do both at the same time, just make sure to bake the one on the bottom rack for a little longer or switch them around halfway through baking.
- For the coconut cream: While the oven heats, you can prepare the coconut whipped cream as per the recipe making sure to double it. You will also need to add 6 tablespoons of plant milk to the whipping cream so that it’s not as thick and heavy once you set it in the fridge. (Note: It will not need to be in the fridge for the recommended 2-3 hours as mentioned in the recipe).
- Once the cream is made, set it aside in the fridge while you prepare the puff pastry.
- For the pastry: Add 1 sheet of the puff pastry to the greased sheet pan and using a fork, go over the whole sheet of pastry putting holes in it. By doing this, you will prevent the pastry from puffing too much as it bakes.
- For the second sheet of puff pastry, you need to cut it into even squares. As my pastry was 21cm x 21cm / 8.27 inches x 8.27 inches, I measured it out to 9 (3×3 at 8cm / 3.15 inches each) even squares and cut a nice clean line for each. This will help with cutting the cake later on. Place both the sheet pans in the oven for 10-15 minutes until it’s golden and baked all the way through. Alternatively, do one at a time.
- If the custard has cooled down while the pastry is in the oven, you can mix the aquafaba that will be added to the custard. Only make the aquafaba once the custard has cooled.
- Addition to the custard: In a medium bowl, add the strained aquafaba and using an electric whisk, start whisking on low for a couple of minutes until you get a white fluffy peak. Increase the speed to medium and start adding a tbsp of sugar every 30 seconds or so until it’s all well combined. Increase the speed to high and whisk until you get stiff peaks and you can tip the bowl upside down and the mix stays still. This typically takes about 5-7 minutes.
- Bring the cooled custard over. If the custard is a little thick and clumpy, use the electric whisk to make it nice and creamy again.
- Using a silicone spatula, fold ¼ of the aquafaba meringue into the custard at a time making sure it’s well incorporated. Be gentle here as you want to add volume to the custard. DO NOT add it to the custard if it’s still hot/warm, it will dissolve.
- Assemble: Now you are ready to assemble the cake. In a springform square tin or square baking dish that is the closest to the size of your puff pastry, add the first layer of puff pastry that you had forked (and baked).
- Top that with the custard, making sure to spread over nice and even. Followed by the whipped cream and spreading evenly again.
- Top it off with the baked puff pastry squares and set it in the fridge for at least 5 hours, ideally overnight.
- Once you’re ready to serve, dust with icing sugar and cut along the lines of the squares.
- Keep stored in the fridge in an airtight container for 4-5 days.
Notes
Coconut cream: Coconut cream can be bought in a can. If you can’t find it, you can chill a can of full-fat coconut milk. Once chilled, scoop out the hard coconut cream on the top.
Aquafaba: To learn more about aquafaba, read my post about it.
Puff pastry: Most puff pastries in the supermarket are vegan. Just double-check the ingredients list.
Watch the full recipe video here.
- Diet: Vegan

Thank you for this recipe, I haven’t made it yet but it looks super nice and just like what I’ve been looking for! I just have one question, you said you can also use soy whipped cream for the white part and I intend to do that, but I feel like it it will become runny if I keep the cake in the fridge until for example the next day, because whipped cream tends to get more fluid a while after it’s been whipped. Do you have any tips on what I could add to the whipped cream to keep it stiff for a few days? I tried powdered sugar in the past but that was no success and I prefer not to use any coconut products ^^
Hi Amber, it really depends on the brand. I personally haven’t experienced this in the past so I’m sorry I can’t help. I would have suggested powdered sugar but if that is a no-go then you could maybe fold in cashew cream? It’s hard to say without experimenting if it will hold. You could alternatively use thickened cream and add sugar to that. I’m sorry again I couldn’t be of more help. Let me know how you go x
My mom brought krempite home the other day which prompted me to search for a vegan version… though the recipe was no speedy process, it was certainly worth it! and as someone who has also tried the “original” krempite, the only area of real difference is the ever so slight coconut flavour, which really doesn’t get in the way of the experience. in the end my custard somehow came out tinted a little green, so they weren’t all that photo-worthy, but they sure were delicious! thank you for the wonderful recipe!:)
thank you for the lovely recipe! I’ve made all the components- but even after leaving it to cool, it appears my custard is too runny/ won’t solidify! I think I may have taken it off the heat too early as I was scared it would burn. Is it too late to fix it?
Sounds like that’s where you went wrong. Sorry, but once you’ve already assembled it, there’s not much you can do. If it’s still on its own, you can add it back to the pot and heat it up again to thicken. Let me know how you go!